Installing Your Crompton 15 Ltr Geyser: Tips and Tricks
Get Your Hot Water Running: Installing a Crompton Geyser
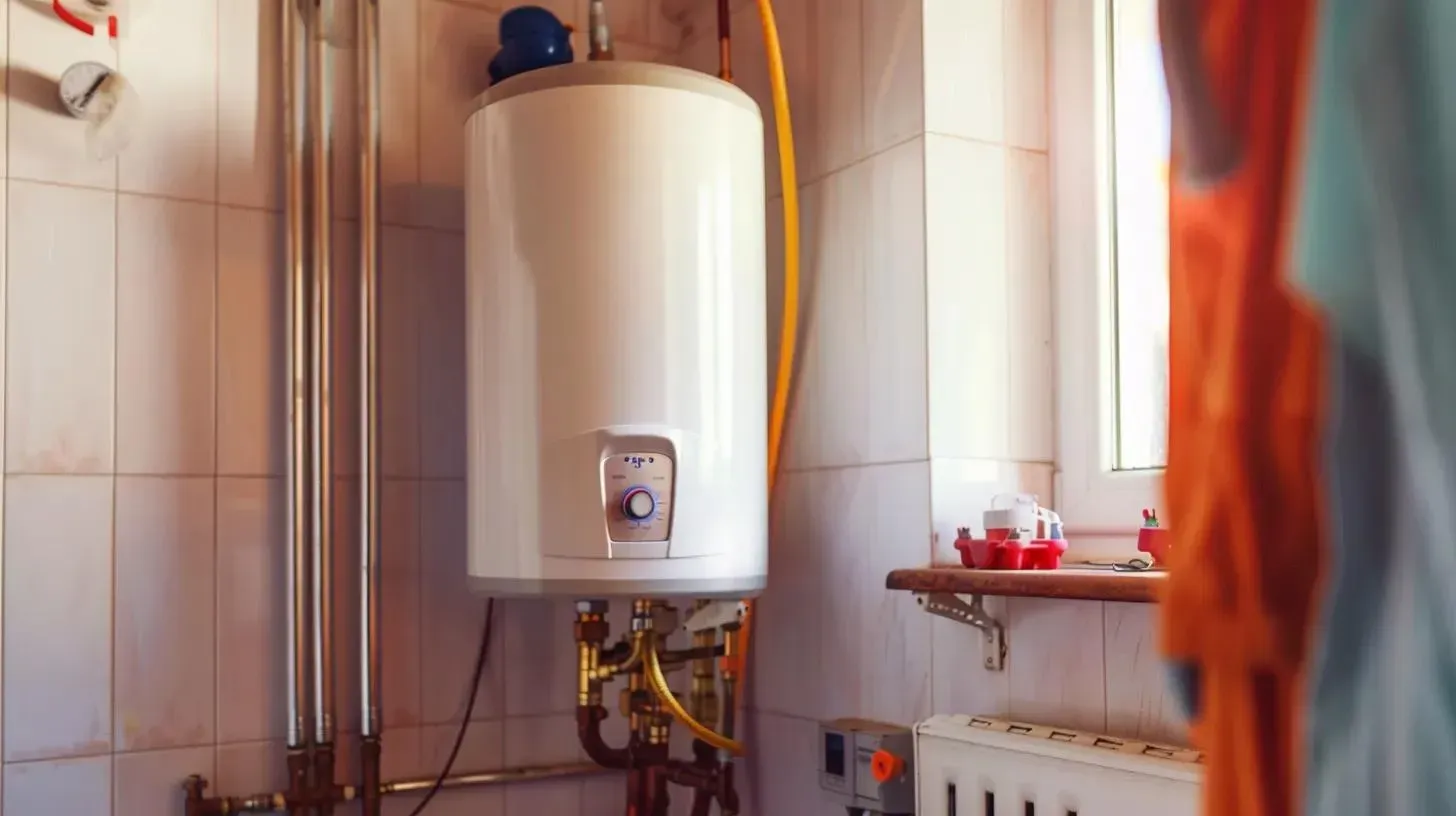
Nothing beats the simple pleasure of a hot shower on a chilly Denver morning. If you're ready to upgrade your bathroom with a reliable water heater, the crompton geyser 15 ltr installation process is simpler than you might think!
I'm Dave from Accountable Home Plumbing, and after helping hundreds of Denver homeowners with their water heater needs, I've seen how the right installation makes all the difference. The Crompton 15L geyser is one of our favorites for local homes – it combines impressive 8-bar pressure capability with energy-efficient performance thanks to its 5-star BEE rating and superior PUF insulation.
Before you begin your crompton geyser 15 ltr installation, gather these essential tools: a good drill with masonry bits (for those solid Denver walls!), a spirit level, adjustable wrench, PTFE tape, and appropriate anchors. Having everything ready beforehand saves those frustrating mid-project trips to the hardware store.
The installation process follows a logical sequence that even moderately handy homeowners can manage. Start by selecting a sturdy vertical wall that can support the unit's weight. Mark and drill your mounting holes carefully, then secure the brackets using proper anchors. Once the mounting is solid, hang your geyser unit and make sure it's perfectly level – this prevents air pockets and ensures optimal performance.
Next comes the plumbing connections – the blue inlet for cold water and red outlet for hot water. Don't skip installing the multi-function valve – it's crucial for safety and proper operation. Before making any electrical connections, fill the tank completely with water. This step is non-negotiable – powering an empty geyser can damage the heating element beyond repair.
For electrical hookup, ensure you're using 2.5 mm² copper wire connected to a dedicated 16A MCB. Proper earthing is essential, especially in bathroom installations where water and electricity share space. The geyser must maintain its IPX4 splash protection rating, so keep electrical connections appropriately sealed.
A properly installed Crompton geyser will serve your household faithfully for years to come. The 15-liter capacity strikes the perfect balance for most Denver homes – enough hot water for your needs without wasting energy heating water you won't use.
While DIY installation is possible, many Denver homeowners prefer our professional installation service to ensure everything's done right the first time. At Accountable Home Plumbing, we provide upfront pricing with no surprises, and our technicians are familiar with all local building codes and water conditions specific to the Denver Metro area.
Whether you choose to tackle the crompton geyser 15 ltr installation yourself or call in our experts, you'll soon be enjoying the comfort of reliable hot water with the peace of mind that comes from knowing your system is properly installed and energy-efficient.
Know Your Crompton 15 L Geyser
Before we roll up our sleeves for installation, let's get acquainted with what makes the Crompton 15 L geyser such a smart choice for your Denver home. This isn't just another water heater – it's a thoughtfully designed appliance built to handle the unique demands of modern households.
With an impressive 8 bar pressure rating, this geyser is particularly well-suited for Denver's multi-story buildings where water pressure can be a real challenge. Whether you're in a downtown high-rise or a suburban two-story, this unit delivers consistent water flow regardless of your floor level.
At its heart pumps a robust 2000W heating element that brings water to temperature quickly – usually in about 10 minutes. During those bone-chilling Colorado winter mornings, you'll appreciate not having to wait forever for your hot shower!
"The quality of the heating element makes all the difference between a water heater that lasts and one that doesn't," as our veteran technician Mike often says. "Crompton's copper element transfers heat efficiently and stands up to Denver's moderately hard water much better than cheaper alternatives."
The unit's eco-friendly PUF (Polyurethane Foam) insulation is where the real magic happens. This advanced insulation keeps your water hot for extended periods, reducing how often the unit needs to reheat. According to scientific research on heat retention, this technology can help Denver homeowners cut water heating costs by 15-20% compared to older models.
Another standout feature is the magnesium anode rod – think of it as a sacrificial shield that attracts corrosive elements so they attack it instead of your tank lining. This simple but clever addition significantly extends your geyser's lifespan.
For families with varied needs, you'll appreciate the customized bath modes. The Baby Care setting maintains gentle temperatures for sensitive skin, while the Hygiene Mode provides hotter water when needed for thorough cleaning.
Key Features & Specs at a Glance
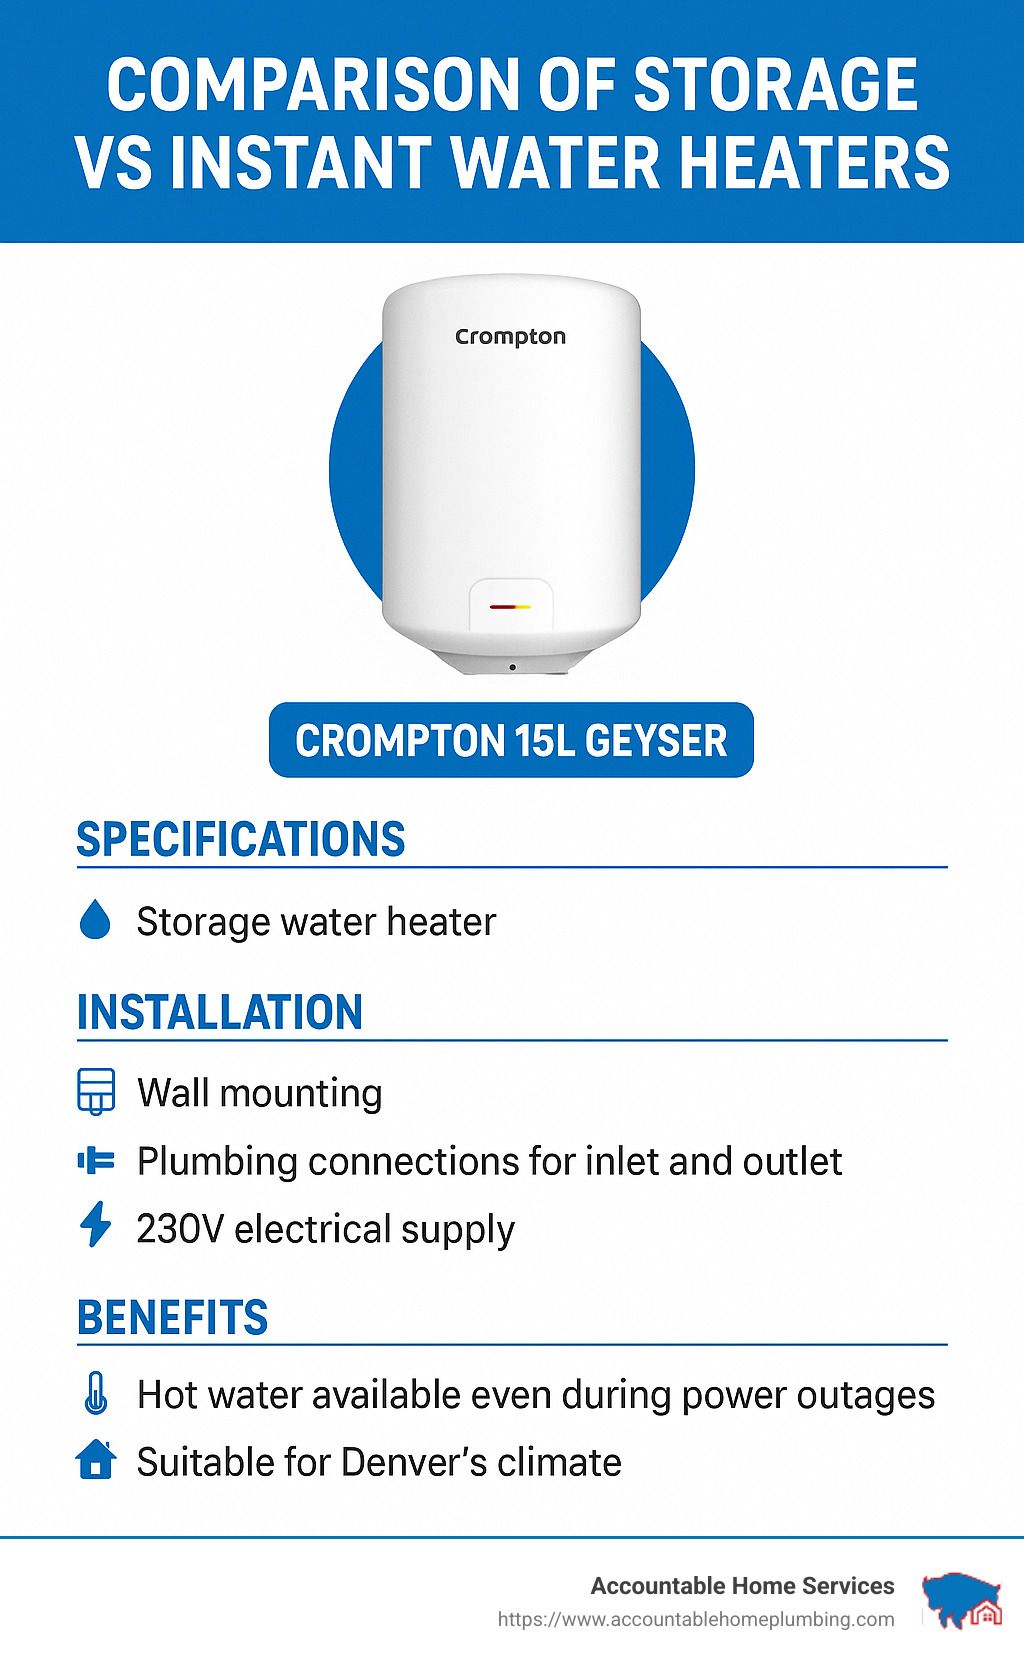
The Crompton 15 L geyser packs an impressive array of features into its compact frame. With a capacity of 15 liters, it's perfectly sized for small to medium households. The 8 bar rated pressure ensures it can handle the demands of high-rise buildings, while its BEE 5-star rating (2023 standards) translates to lower electricity bills.
Dimensions-wise, it measures a compact H 430 mm × L 390 mm × W 415 mm and weighs just 11 kg empty. The maximum temperature setting reaches 75°C, and it operates on standard 230V AC power.
Peace of mind comes standard with Crompton's generous warranty: 5 years on the tank, 2 years on the heating element, and 2 years on the overall product.
What truly sets this unit apart is its comprehensive 3-level safety system that includes a precise capillary thermostat, automatic thermal cut-out for overheating protection, and a multi-functional valve that manages pressure while preventing backflow.
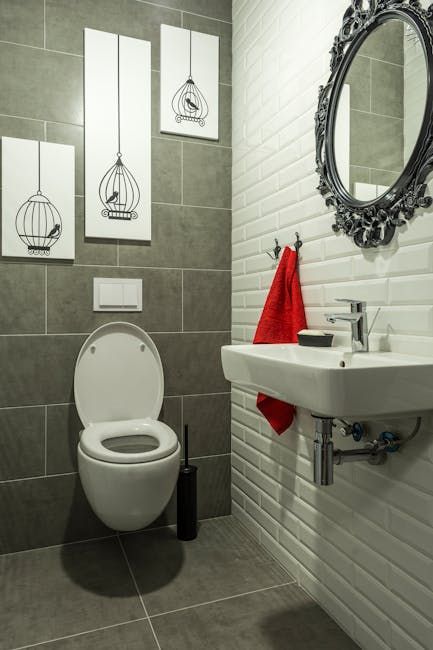
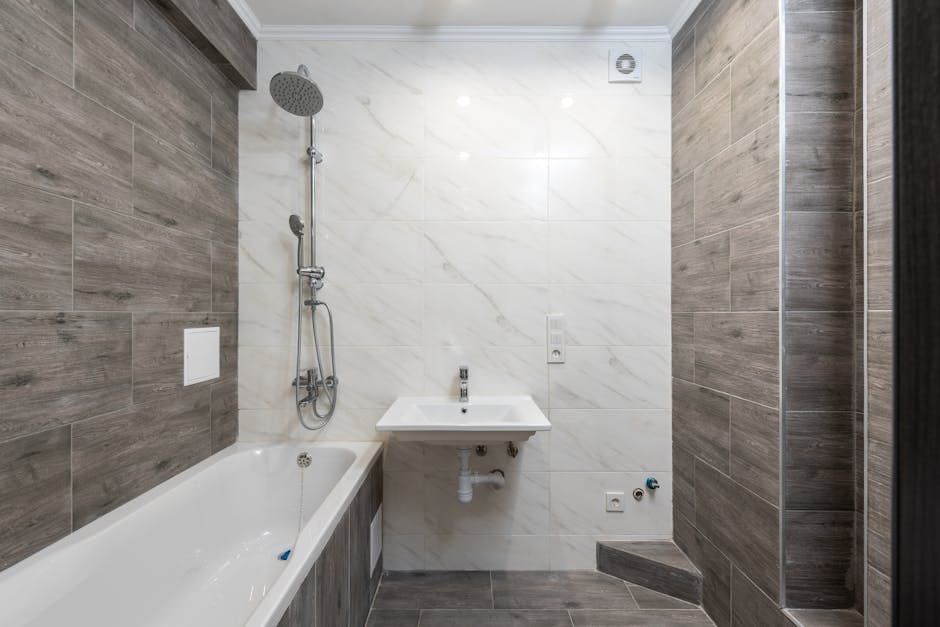
Ideal Mounting Spots in Your Bathroom
Finding the perfect home for your Crompton geyser 15 ltr installation can make all the difference in performance and convenience. Based on our experience installing hundreds of these units across Denver neighborhoods, here's what works best:
Always mount on vertical walls that can support at least 50 kg when the tank is full. This is non-negotiable for safety and proper operation. In older Denver homes, particularly in historic districts like Baker or Highland, wall reinforcement is sometimes necessary.
Look for load-bearing studs whenever possible, or use appropriate heavy-duty anchors for masonry walls. Maintain at least 6 ft clearance from electrical outlets and switches to comply with safety codes.
"The biggest mistake we see in DIY installations is underestimating the weight of a full water heater," shares our installation team leader. "When that 15 liters of water is added, you're looking at over 35 pounds of weight that your wall needs to support day in and day out."
For high-rise suitability, this model excels thanks to its 8 bar pressure rating – perfect for the growing number of apartment and condo buildings in LoDo and the Denver Tech Center. Just remember that proper installation becomes even more critical at higher elevations and pressures.
Position your geyser at a height that allows easy access for maintenance but keeps controls out of curious little hands' reach. And remember – the closer it is to your shower or faucet, the less heat you'll lose through pipes, which means more efficient operation and faster hot water delivery.
With the right positioning and proper crompton geyser 15 ltr installation, you'll enjoy years of reliable hot water while maximizing energy efficiency – something we at Accountable Home Plumbing take pride in delivering to every Denver customer.
Crompton Geyser 15 Ltr Installation Checklist
Ready to tackle your crompton geyser 15 ltr installation? Let's make sure you're properly equipped before diving in. I've helped countless Denver homeowners through this process, and I can tell you that being prepared saves not just time, but also a lot of frustration and those multiple trips to the hardware store we all dread.
Gather these essential tools before you start: an electric drill with 10mm and 12mm masonry bits, a hammer, both Phillips and flathead screwdrivers, adjustable and pipe wrenches, a spirit level, measuring tape, pencil, voltage tester, and PTFE tape. Don't forget a bucket and some towels too—even the smoothest installations can involve a little water spillage!
As for materials, you'll need your Crompton 15L geyser unit (of course!), the wall mounting brackets (usually included), 12mm expansion anchors suited to your wall type, a multi-function valve, inlet and outlet connection hoses (I strongly recommend stainless steel braided ones), and water seal tape. If your home's water pressure exceeds 8 bar, add a pressure reducing valve to your shopping list. For the electrical connection, prepare 2.5mm² copper wire and a 16A MCB if your existing setup needs upgrading.
"I always tell my clients that having the right tools before starting can save hours of frustration," says Mike, our Longmont service manager. "I've seen too many DIY installations hit a wall simply because folks weren't properly equipped."
Before you pick up that drill, Denver residents should check local building codes—some neighborhoods have specific requirements about water heater placement and electrical connections that you'll want to follow.
Step-by-Step Crompton Geyser 15 Ltr Installation Guide
Let me walk you through installing your new Crompton geyser, step by step:
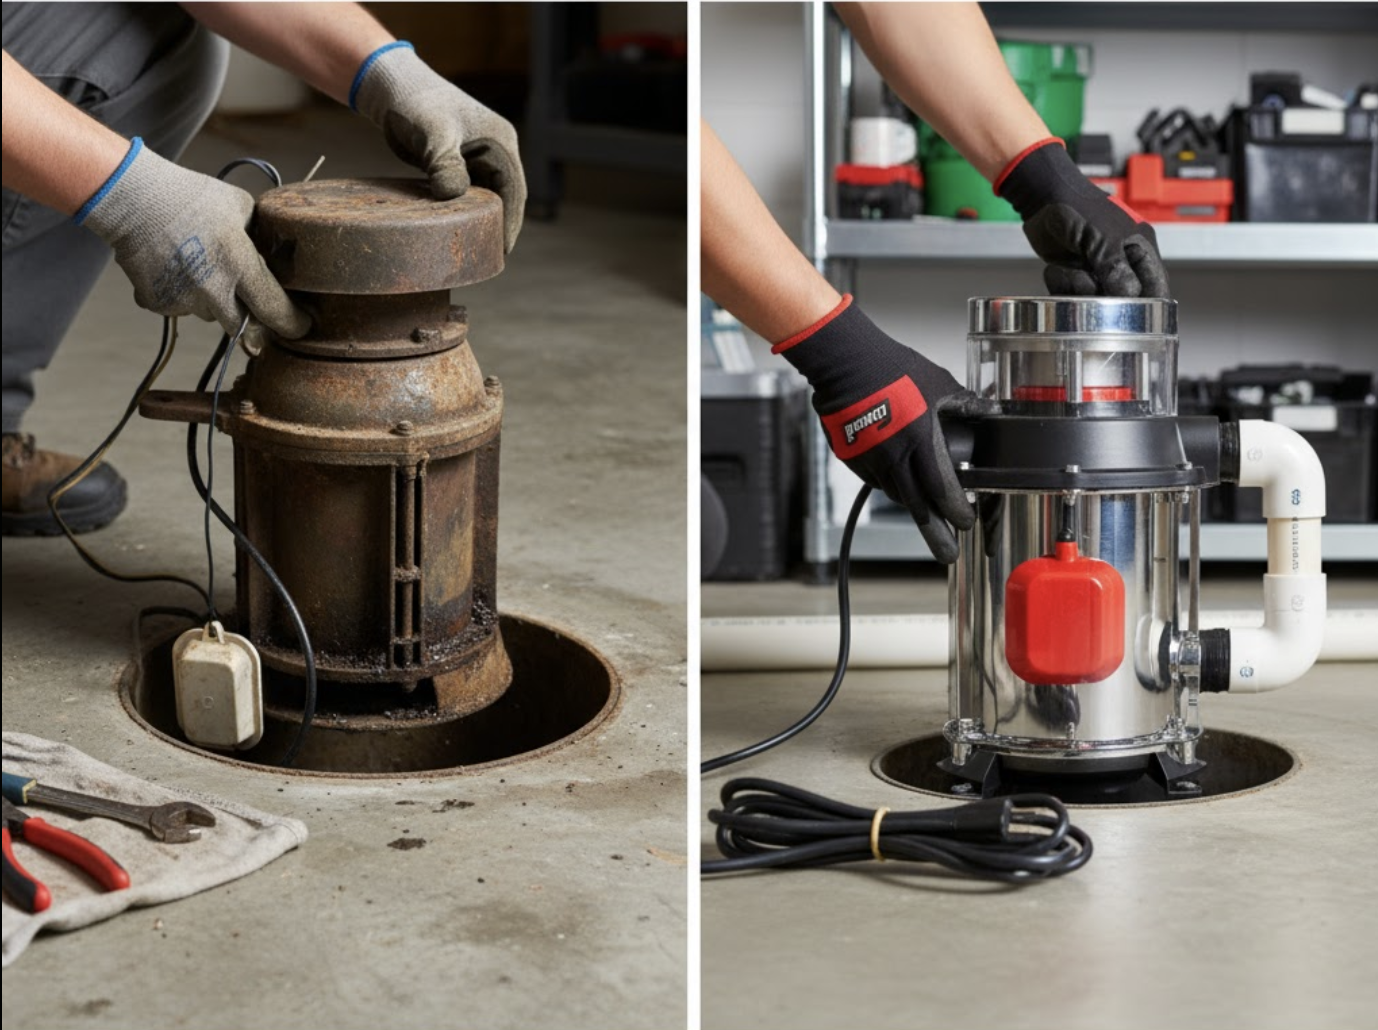
First, safety first! Turn off both the main water supply and electricity to your installation area. If you're replacing an existing heater, remove it carefully. Find that perfect spot on a solid wall, mark the bracket positions using the template that came with your geyser, and use a spirit level to ensure everything's perfectly horizontal.
Now for the mounting. Drill holes at your marked positions with a 12mm masonry bit, insert those expansion anchors, and secure the mounting brackets to the wall. Carefully lift your geyser (maybe get a friend to help—these units aren't light!) and hang it securely on the brackets. Double-check with your spirit level that the unit is perfectly level.
"The mounting is where most DIY installers make critical mistakes," our Westminster technician often points out. "A geyser filled with water can weigh over 25 kg, so proper anchoring isn't something to cut corners on."
For the plumbing connections, first identify the cold water inlet (typically marked blue) and hot water outlet (usually red). Install the multi-function valve on the cold water inlet, then connect the cold water supply pipe to this valve, using PTFE tape at all threaded connections for a watertight seal. Connect the hot water outlet pipe to your home's hot water line, making sure all connections are tight—but be careful not to overtighten and damage the threads.
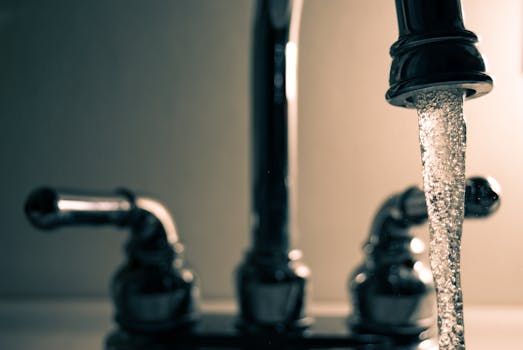
Time for the initial testing and filling. Keep a hot water tap open in your bathroom, then slowly open the cold water supply to fill the tank. This allows all air to escape through the open hot water tap. Once water flows consistently from that tap, you can close it. Carefully check all connections for leaks and tighten if necessary.
"In Denver's climate, with our significant temperature swings, we always recommend stainless steel braided hoses," says our Arvada technician. "They're simply the best at standing up to our freeze-thaw cycles without bursting."
Electrical Hook-Up & Earthing
The electrical connection is where safety becomes absolutely critical during your crompton geyser 15 ltr installation. Use 2.5mm² copper wire for the 2000W heating element, and install a dedicated 16A MCB in your distribution board specifically for this geyser circuit.
Proper earthing is non-negotiable—make sure it's connected to the geyser's earthing terminal. For bathroom installations, verify that the area meets IPX4 splash zone requirements, and maintain at least 60cm horizontal clearance from shower areas and taps. Connect the power cable to the geyser's terminal block following the wiring diagram, then secure all electrical connections and replace any protective covers.
"Electrical safety simply cannot be overstated," our safety coordinator emphasizes. "In Denver's older homes, particularly in neighborhoods like Northglenn, we often need to upgrade the electrical system to safely support modern water heaters."
Troubleshooting during Crompton Geyser 15 Ltr Installation
Even the most careful installations sometimes hit snags. Here's how to address common issues:
If you notice water leaks, check that all connections have proper PTFE tape applied and are tight but not overtightened. Verify the multi-function valve is properly installed and inspect hoses for any cracks or damage.
For pressure problems, low water pressure might indicate kinked supply lines, while high-pressure systems (common in Denver high-rises) may require a pressure-reducing valve if home pressure exceeds 8 bar. Always check that the multi-function valve is fully open.
Electrical problems can be trickier. No power? Check the MCB, connections, and supply voltage. If your circuit breaker keeps tripping, look for water leakage onto electrical components. And if the heating element isn't working, make absolutely sure the tank is completely full before powering on.
"If you run into persistent issues during installation, there's no shame in calling professionals," our customer service manager reminds clients. "Crompton's warranty hotline at 1800 419 0505 offers helpful technical guidance, but improper installation can void your warranty."
Need professional help with your crompton geyser 15 ltr installation? Our team at Accountable Home Plumbing is just a call away, ready to ensure your installation is safe, efficient, and up to code.
Safety, First-Time Setup & Maintenance
Let's talk about staying safe during and after your crompton geyser 15 ltr installation. I've seen too many DIY jobs where safety gets overlooked, but it's truly the most important part of the whole process.
Your Crompton 15L geyser comes with an impressive 3-level protection system that works like your own personal safety team:
- The capillary thermostat keeps water temperature in the comfort zone
- The automatic thermal cut-out acts like an emergency brake if things get too hot
- The multi-function valve releases pressure before it becomes a problem
"These safety features are only effective when properly installed," warns our safety inspector. "We've seen cases where DIY installations bypassed safety components, creating dangerous situations."
When setting up your geyser for the first time, I recommend a thermostat setting around 55°C (131°F). This sweet spot gives you plenty of hot water while saving energy and reducing scale buildup – particularly important in Denver's moderately hard water areas.
Don't overlook the sacrificial magnesium anode rod during installation. This unsung hero attracts corrosive elements in your water, essentially sacrificing itself to protect your tank lining. Make sure it's properly positioned during setup.
For Denver homeowners, I strongly recommend annual descaling, especially if you're in Boulder or Westminster where water hardness varies. This simple maintenance step can add years to your heating element's life and keep your energy bills lower.
Common Mistakes to Avoid
After helping hundreds of Denver families with water heater installations, I've seen the same mistakes pop up over and over. Let me help you avoid them:
Loose electrical connections can create serious safety hazards. Always double-check that all wiring is secure and properly protected. This five-minute check can prevent major headaches later.
Skipping the multi-function valve is like driving without a seatbelt – it might seem fine until something goes wrong. This valve is absolutely essential for both safety and proper operation.
Many homeowners damage their new units by overtightening mounting bolts. Snug is good, but you're not docking a spacecraft – gentle pressure is all you need.
In Denver's variable water conditions, ignoring water quality is a costly mistake. If your area has hard water, consider adding a simple filter or water softener to extend your geyser's life.
"The most expensive service calls we get are for units damaged by powering them on before they're full of water," notes our Thornton service technician. "This simple mistake can burn out the heating element immediately."
First-Time Power-On Procedure
The moment of truth has arrived! Here's how to safely power up your newly installed Crompton geyser for the first time:
Start by making absolutely sure your tank is completely full – open a hot water tap and let it run until water flows steadily without any spurts or air. This purges all air from the system and prevents damage to the heating element.
Once the water runs smoothly for 2-3 minutes, close all taps and do one final leak check. Look carefully at every connection point with a flashlight.
Now you can switch on the power supply at the MCB and set your desired temperature. I recommend starting at 55°C and adjusting based on your family's needs. The indicator LEDs will light up to confirm normal operation.
"The first heating cycle typically takes about 15-20 minutes," explains our Denver technician. "During this time, it's normal to hear some expansion sounds as the tank heats up."
If your model includes customized bathing modes, take a few minutes to test each one. These intelligent settings are particularly helpful for families with young children or elderly members who benefit from consistent, safe water temperatures.
Long-Term Care Schedule
Your crompton geyser 15 ltr installation isn't a set-it-and-forget-it appliance. With some simple, regular care, you can dramatically extend its lifespan and keep it running efficiently for years.
Every 3 months, take five minutes to inspect all connections for tiny leaks that could become big problems. Check that the pressure relief valve operates smoothly, and wipe down the exterior to prevent dust buildup.
Once a year, set aside about an hour for more thorough maintenance. Flush the tank to remove sediment buildup (especially important in Denver's water conditions), check the anode rod for deterioration, and test all safety features. If you notice scale buildup, descaling the heating element will improve efficiency and extend its life.
Every 2-3 years, replace the anode rod if it's more than half consumed. This $20-30 part can save you thousands by protecting your tank. While you're at it, inspect and tighten electrical connections, and consider scheduling a professional service check.
"A well-maintained water heater can last 10-15 years, while neglected units often fail in 5-7 years," shares our maintenance supervisor. "In Denver's climate and water conditions, regular maintenance is particularly important."
For those of you in Broomfield and Boulder where water tends to be harder, I recommend more frequent descaling – potentially every 6-9 months rather than annually. This extra attention can make a big difference in performance and longevity.
Frequently Asked Questions
Can I DIY or must I hire a pro?
The question of whether to DIY your crompton geyser 15 ltr installation or call in a professional is one we hear almost daily. While it's certainly possible to install it yourself if you have decent plumbing and electrical skills, there are some important considerations to keep in mind.
"About 30% of our service calls are to fix DIY installations gone wrong," shares our service manager with a knowing smile. "I understand wanting to save on installation costs—who doesn't?—but improper installation often leads to spending more money down the road."
If you're handy around the house and have experience with basic electrical work, you might successfully complete the installation. However, working with both electricity and water requires proper knowledge and safety precautions. Many homeowners don't realize that manufacturers may void warranties if units aren't professionally installed.
Denver Metro areas have specific building codes that must be followed, and most jurisdictions actually require permits for water heater installations, especially when switching from one type to another. Professional installation also ensures your unit will operate at peak efficiency, potentially saving you money on energy bills over time.
If you do decide to tackle it yourself, please carefully follow all manufacturer instructions and check local codes first!
How does installation differ in high-rise buildings?
One of the reasons the Crompton 15 L geyser is popular in Denver's growing number of high-rises is its impressive 8 bar pressure rating. However, installing in a multi-story building comes with some special considerations.
"In downtown Denver high-rises, we've seen water pressure exceed 12 bar on upper floors due to building booster pumps," our high-rise specialist often warns clients. "A pressure-reducing valve becomes absolutely essential in these situations to protect your geyser and prevent voiding the warranty."
When installing in high-rise buildings, you'll need to install a Non-Return Valve (NRV) to prevent backflow into the main supply. It's also crucial to check your building's actual water pressure—if it exceeds 8 bar, you must install a pressure-reducing valve to protect your unit.
Consider adding pipe insulation to minimize heat loss, especially important with the longer pipe runs common in high-rises. Don't forget to verify your building's specific regulations, as many high-rises have particular requirements for water heater installations. Some buildings require dedicated shut-off valves for each unit as well.
The multi-function valve included with your Crompton geyser helps manage normal pressure fluctuations, but extreme pressure conditions require that additional protection.
What if I face issues after installation?
Even the best crompton geyser 15 ltr installation can occasionally develop issues. If your newly installed unit isn't performing as expected, don't panic! Most problems have simple solutions.
For minor issues, start by checking all connections for leaks. Verify your power supply and circuit breaker status—sometimes the solution is as simple as a tripped breaker. Make sure the tank is completely full (this is a common oversight) and confirm your temperature settings are correct.
"Most post-installation issues we see relate to either air in the system or electrical connections," explains our troubleshooting expert. "Running hot water taps until flow is consistent often resolves air-related problems."
If problems persist, it's time to contact Crompton customer service at 1800 419 0505. Have your model number and purchase details ready, and be prepared to describe the issue in detail, including any error codes or unusual sounds you might be hearing.
For Denver Metro residents, we at Accountable Home Plumbing offer 24/7 emergency services for water heater issues. Our technicians are familiar with Crompton models and can quickly diagnose and resolve problems, often on the first visit.
Crompton maintains a good supply of spare parts, and their 2-year product warranty covers most component failures. We always recommend keeping your warranty card and purchase receipt in a safe place—you'll thank yourself later if you ever need to make a warranty claim!
You can also check Crompton's official FAQs for additional information about common issues and their solutions.
Conclusion
Completing your crompton geyser 15 ltr installation is more than just a home improvement project—it's an investment in comfort and efficiency for your Denver home. After guiding countless homeowners through this process, I've seen how a properly installed Crompton 15L geyser transforms daily routines with reliable hot water, especially during those bone-chilling Colorado winters.
The beauty of this particular model lies in its thoughtful engineering—the 5-star BEE rating means lower electricity bills month after month, while the robust 8 bar pressure capability ensures strong water flow even in Denver's tallest apartment buildings. Those advanced safety features aren't just technical specs on a brochure; they're your family's protection against overheating and pressure-related issues.
Remember what matters most for long-term success: mount your geyser on a wall that can truly support it (that full tank is heavier than you might think!), always fill the tank completely before that first power-up (your heating element will thank you), and never skip installing that multi-function valve (it's there for a reason). The few minutes you spend checking connections during quarterly maintenance will reward you with years of additional service life.
"I've seen two identical water heaters installed on the same day have completely different lifespans," shares our veteran technician Mike. "The one that got regular maintenance and proper installation was still running strong after 12 years, while the neglected one barely made it to 6."
Here in the Denver Metro area, our Accountable Home Plumbing team has become quite familiar with these units across neighborhoods from Broomfield to Westminster, Thornton to Boulder. We've learned that professional installation isn't just about following instructions—it's about understanding local water conditions, building codes, and how to optimize performance for Colorado's unique climate challenges.
Whether you're tackling this project yourself or calling in the pros, this installation sets the foundation for years of hot showers, clean dishes, and comfortable living. And if you do hit a snag or simply prefer expert hands on your plumbing, our Accountable Home Plumbing team is just a phone call away, 24/7, with upfront pricing and no surprise fees—because emergency plumbing situations are stressful enough without wondering what the final bill will be.
Your new Crompton geyser isn't just a utility; it's a quality-of-life upgrade that, when properly installed and maintained, will serve your home faithfully through countless Colorado seasons. Now that's something worth doing right the first time!