Kitchen Faucet Repair and Replacement: DIY Guide for Denver Homeowners
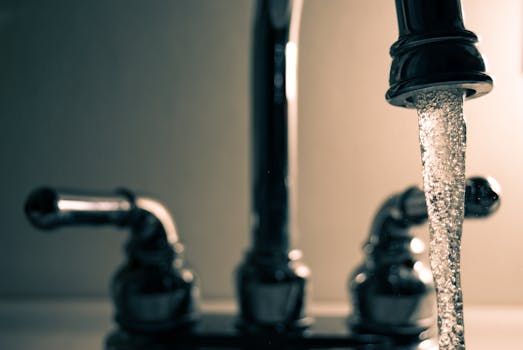
A dripping kitchen faucet does more than create an annoying sound while you try to sleep. That steady drip wastes thousands of gallons of water annually, leaves mineral stains in your sink basin, and signals internal components wearing out that will only get worse. For Denver homeowners dealing with Colorado's notoriously hard water, faucet problems develop faster than in regions with softer water supplies.
Whether your faucet drips constantly, sprays erratically, or needs complete replacement, understanding the repair process helps you decide between a DIY fix and calling a professional. Most faucet repairs fall within reach of handy homeowners willing to invest an hour or two, while replacement projects vary in complexity depending on your sink configuration and the faucet style you choose.
1. Diagnosing Your Kitchen Faucet Problem
Before grabbing tools, take a moment to identify exactly what is happening with your faucet. Different symptoms point to different causes, and understanding the problem guides you toward the right solution. A systematic approach saves trips to the hardware store and prevents unnecessary part purchases.
Dripping from the spout when the faucet is off indicates worn internal valve components. Single-handle faucets use cartridges that control water flow and temperature mixing, while two-handle models may use cartridges, ball valves, or compression washers depending on design and age. The specific mechanism determines which parts you need and how to access them.
Water leaking from the base of the faucet where it meets the sink often points to a failed O-ring or worn base gasket. These components create the seal between faucet body and sink surface. Over time, especially with daily use and Denver's hard water accelerating wear, these seals dry out, crack, and allow water to seep through during operation.
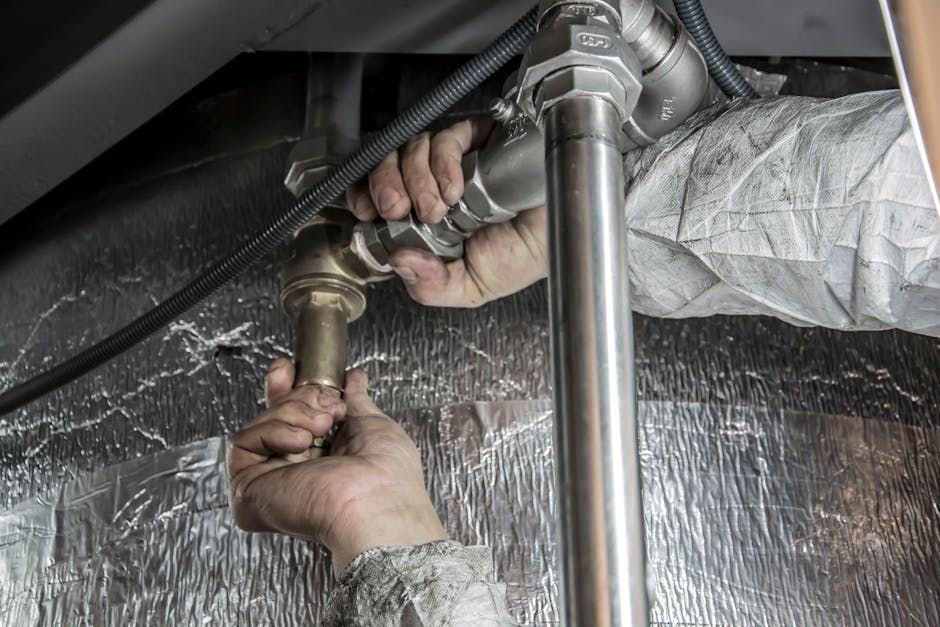
Leaks underneath the sink at supply line connections require checking the compression fittings where flexible supply hoses attach to shutoff valves and faucet inlets. These connections can loosen over time or corrode in hard water conditions. Sometimes simply tightening the connection solves the problem, while heavily corroded fittings need replacement.
Low water pressure affecting only the kitchen faucet usually traces to a clogged aerator or blocked cartridge passages. Mineral deposits from hard water accumulate in small openings over time, restricting flow. This differs from whole-house pressure problems that affect all fixtures equally and point to supply-side issues requiring different solutions.
2. Essential Tools and Preparation
Gathering the right tools before starting prevents frustrating mid-project trips to find something you need. Most faucet repairs require common household tools that many homeowners already own, plus perhaps a few specialized items for specific faucet types.
Basic tools for most faucet work include adjustable pliers or channel-lock pliers, a basin wrench for reaching nuts in tight spaces under the sink, Phillips and flat-head screwdrivers, an Allen wrench set for handle screws, and plumber's tape for threaded connections. Having a flashlight or headlamp makes working in the dark cabinet space much easier.
Specialized tools vary by faucet type. Some cartridges require specific removal tools provided by the manufacturer or available at hardware stores. Ball-type faucets may need a specialty wrench for the adjusting ring. When in doubt, look up your faucet brand and model before starting to identify any unique tool requirements.
Before touching anything, shut off the water supply using the valves under the sink. Turn both hot and cold valves clockwise until they stop. Then open the faucet to release remaining pressure and confirm water is actually off. Skipping this step leads to unexpected spraying that creates a mess and potentially causes water damage.

Cover the drain with a rag or stopper to prevent small parts from falling in. This simple precaution saves tremendous frustration when a tiny screw or spring bounces into the drain opening. Also place a towel in the sink bottom to protect the finish from dropped tools and provide a surface to organize removed parts.
3. Repairing Single-Handle Faucets
Single-handle faucets dominate modern kitchens because they allow one-handed operation while holding dishes or food. These faucets use either cartridge or ball-type mechanisms to control water flow and temperature. Identifying your type helps you find the right repair parts.
Cartridge faucets contain a cylindrical cartridge that moves up and down to control flow and rotates to adjust temperature. Common brands like Moen, Delta, and Kohler each use proprietary cartridge designs that are not interchangeable. Remove the old cartridge and take it to a plumbing supply store to get an exact replacement match.
To access the cartridge, first remove the handle by locating and unscrewing the set screw, usually found under a decorative cap on the handle's front or back. Pull or pry off the handle, then unscrew the bonnet nut or retaining clip holding the cartridge in place. Pull the cartridge straight out, noting its orientation for reinstallation.
Ball-type faucets, common in older Delta models, use a rotating ball with spring-loaded inlet seals. Drips typically indicate worn seals and springs, available in repair kits containing all the small parts. The ball itself rarely fails unless visibly damaged or corroded. Disassembly involves removing the cap, cam, and ball to access the seals seated in the faucet body.

When reassembling, align parts exactly as they came out. Cartridges often have a flat side or notch that must face a specific direction. Ball faucets require proper seating of springs and seals before the ball goes back in. Taking photos during disassembly provides reference if you get confused about part orientation.
4. Repairing Two-Handle Faucets
Two-handle faucets remain common in older homes and some traditional kitchen designs. These faucets have separate mechanisms for hot and cold water, meaning you may need to repair one or both sides depending on which handle drips. The repair process is similar for both.
Compression faucets, the oldest design still in use, rely on rubber washers that press against valve seats to stop water flow. These faucets require you to firmly tighten the handle to stop dripping. Over time, washers wear thin and valve seats develop grooves, preventing a watertight seal. Both washers and seats may need attention.
To repair a compression faucet, remove the handle screw and pull off the handle. Unscrew the packing nut with pliers, then thread out the entire stem assembly. The rubber washer sits at the bottom of the stem, held by a brass screw. Replace the washer with one of identical size and shape. While the stem is out, inspect the valve seat inside the faucet body for damage.
Ceramic disc faucets use polished ceramic plates that slide against each other to control water flow. These mechanisms last longer than rubber washers but eventually wear or crack. The entire cartridge typically gets replaced rather than individual components. Identify your brand and model to find compatible replacement cartridges.

Valve seat damage in compression faucets causes drips even with new washers. A seat wrench allows you to remove the seat for replacement, or a seat grinder tool can resurface a damaged seat without removal. Either approach restores the smooth surface needed for the washer to seal properly.
5. When Replacement Makes More Sense Than Repair
Sometimes repairing an old faucet costs more in time and parts than installing a new one that will work better and look nicer. Recognizing when replacement provides better value than repair helps you make smart decisions about where to invest your effort and money.
Faucets more than 15 years old often have obsolete parts that are hard to find or expensive when available. If hunting for parts takes multiple store visits or special orders, the hassle alone may justify replacement. Newer faucets also offer improved features like pull-down sprayers, touchless operation, and better ergonomics.
Multiple repairs in a short timeframe signal a faucet nearing end of life. If you fixed the cartridge last year and now the spout is loose, and the finish is corroding, replacement prevents the cycle of ongoing repairs. A quality new faucet should provide years of trouble-free service with minimal maintenance.
Visible corrosion, persistent mineral buildup despite cleaning, or damage to the faucet body itself cannot be repaired. These issues indicate the faucet has reached the point where internal components are compromised beyond what new parts can fix. Replacement is the only viable solution.

Upgrading to water-efficient fixtures pays for itself over time through reduced water bills. Look for WaterSense labeled faucets that meet EPA criteria for efficiency without sacrificing performance. These fixtures use up to 30 percent less water than standard models while maintaining adequate pressure for washing tasks.
6. Professional Installation Benefits
While many handy homeowners successfully install kitchen faucets themselves, professional installation offers advantages worth considering, especially for complex configurations or when other plumbing work makes sense at the same time.
Plumbers have experience with the unexpected issues that can complicate faucet installation. Corroded mounting nuts that will not budge, supply lines in awkward positions, non-standard sink hole configurations, and other challenges rarely surprise professionals who encounter them regularly. What might take you all afternoon might take them under an hour.
Professional installation typically includes warranty coverage for the labor, meaning if something goes wrong with the installation itself, you are protected. Many homeowners unknowingly void product warranties through improper installation, losing coverage they assumed they had when problems develop later.
Combining faucet replacement with other plumbing updates makes professional service especially cost-effective. If you also need supply valves replaced, garbage disposal work, or drain repairs, having everything done in one visit saves multiple service charges and ensures all components work together properly.
Accountable Home Plumbing provides Denver homeowners with expert faucet repair and installation services. Our technicians arrive with the tools and common parts needed for most repairs, often completing work in a single visit. For complex installations or when you simply prefer professional results without the DIY hassle, call (720) 620-3272 to schedule service throughout Denver, Thornton, Arvada, and surrounding communities.