Your Guide to Installing a Crompton 25 Ltr Geyser
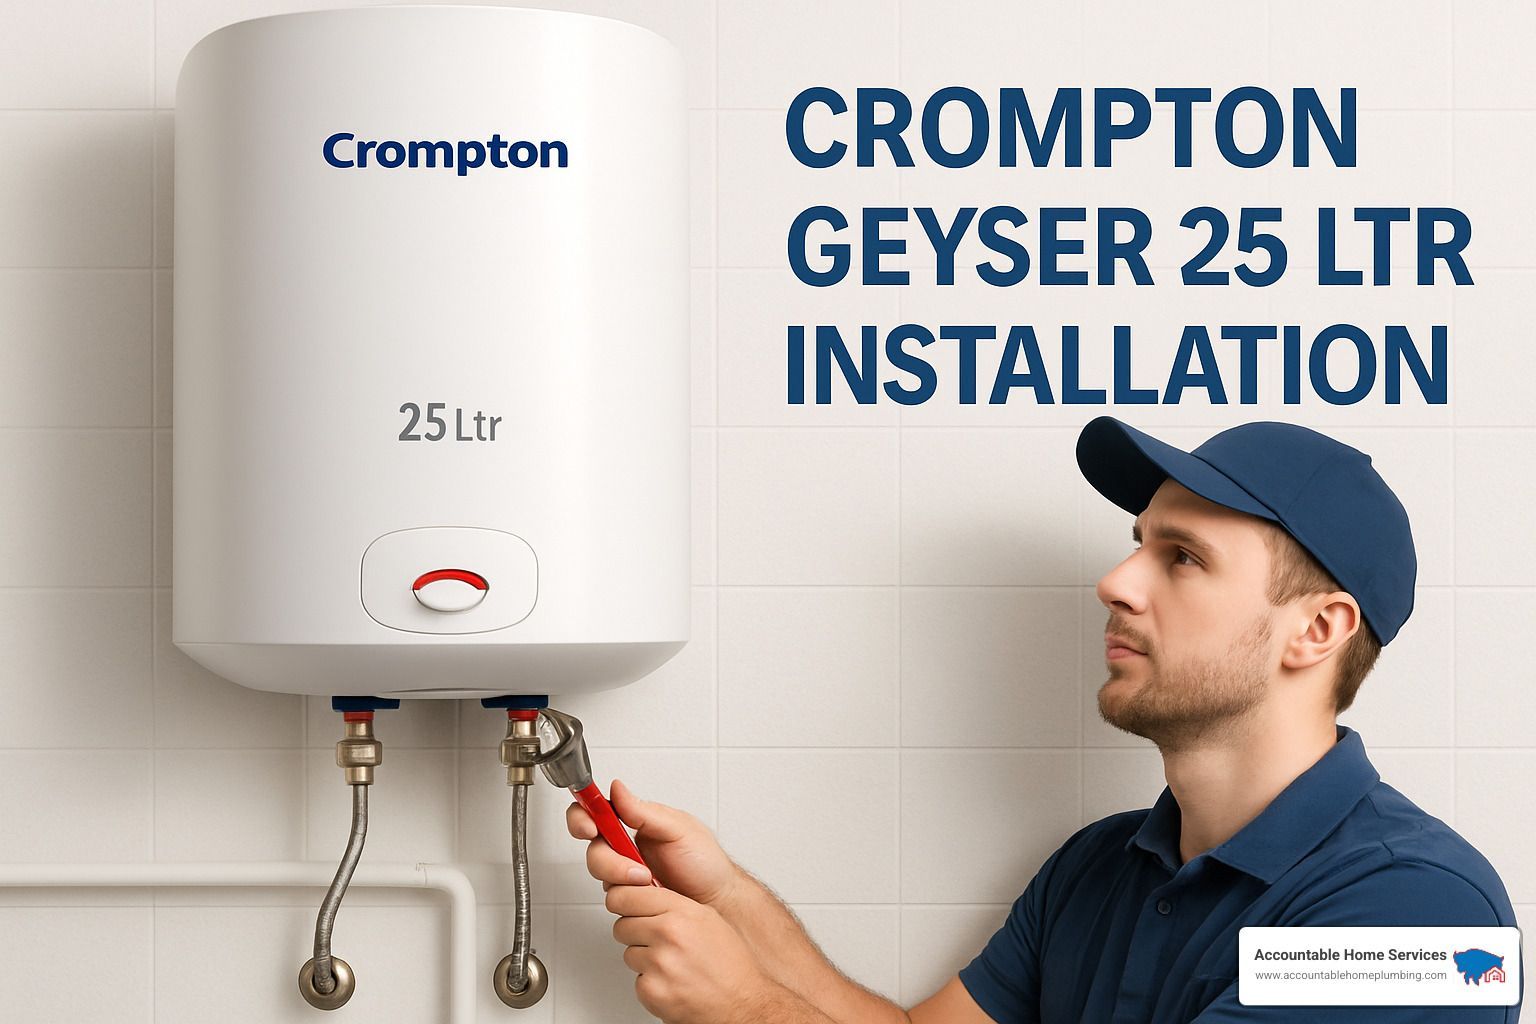
Your Complete Guide to Crompton Geyser 25 Ltr Installation
Crompton geyser 25 ltr installation requires careful planning and proper execution to ensure safety and optimal performance. For those looking for a quick overview of the installation process:
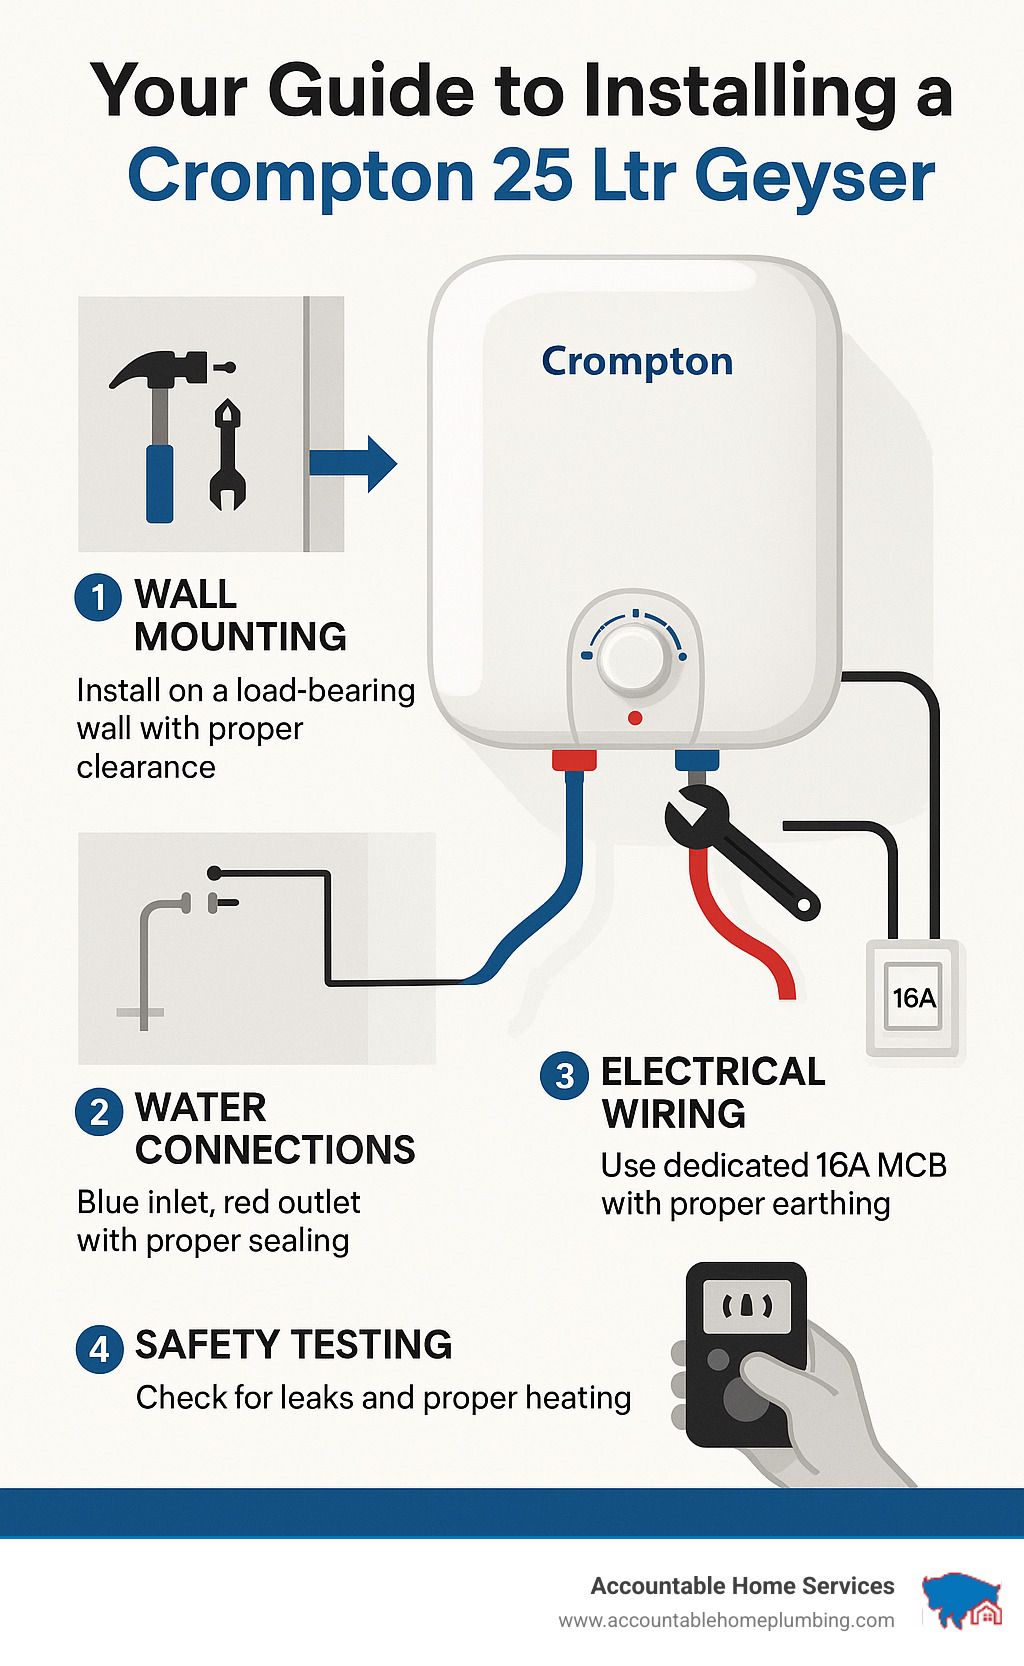
- Choose the right location - Install on a load-bearing wall with proper clearance
- Gather necessary tools - Drilling machine, masonry bits, adjustable spanner, PTFE tape
- Mount the unit securely - Use the provided bracket and ensure it's level
- Connect water lines - Blue inlet, red outlet with proper sealing
- Ensure electrical safety - Use dedicated 16A MCB with proper earthing
- Test before regular use - Check for leaks and proper heating
The Crompton 25 Ltr geyser (ASWH-2425) features a powerful 2000W heating element that ensures rapid water heating, making it ideal for families requiring consistent hot water supply. With advanced 3-level safety features and Nano Polybond technology, this unit provides both safety and durability when installed correctly.
I'm Mike Martinez, owner of Accountable Home Plumbing in Denver. I've personally overseen hundreds of water heater installations, including many Crompton geyser 25 ltr installation projects that require specific technical knowledge to ensure safety and efficiency. Throughout this guide, I'll share professional insights to help you understand the proper installation process.
Why This Guide Matters
Installing a water heater might seem straightforward, but proper installation is crucial for safety, efficiency, and longevity. While DIY installation is possible, understanding the complexities involved will help you decide whether to tackle it yourself or hire a professional.
"We've seen too many cases where improper geyser installations led to electrical hazards, water damage, or premature appliance failure," says our senior technician with 15 years of experience. "Following the correct procedure is non-negotiable when it comes to water heaters."
Safety should always be your top priority. Water heaters involve both electricity and water – a potentially dangerous combination if handled incorrectly. This guide will walk you through each step, highlighting critical safety measures along the way.
Crompton 25 Ltr Geyser Overview & Installation Prep
Let's get to know your new Crompton 25 Ltr geyser before we start drilling holes in your bathroom wall! This nifty appliance is more than just a water heater – it's your ticket to comfortable, hot showers even on the coldest Denver mornings.
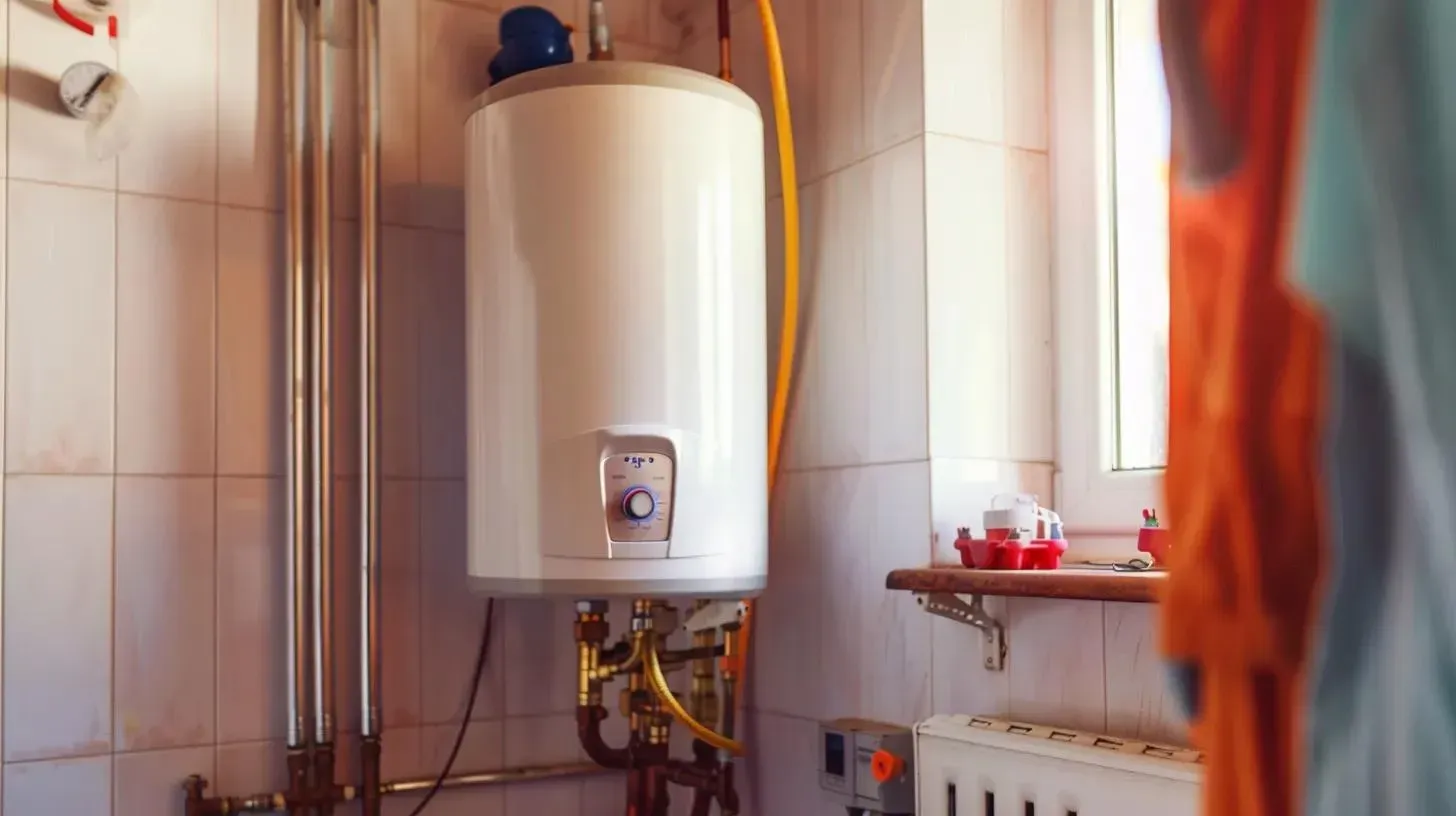
The Crompton ASWH-2425 is a feature-packed unit that's perfect for most households. With its 25-liter capacity, it comfortably serves a family of 3-4 members without anyone having to endure a cold shower. The powerful 2000W heating element means you won't be waiting forever for hot water, and the advanced 3-level safety system (thermostat, thermal cut-out, and multi-function valve) keeps everything running safely.
What really sets this geyser apart is the Nano Polybond technology that significantly extends your tank's lifespan. There's also a sacrificial magnesium anode rod working silently to fight corrosion. At just 9.5 kg (though it'll weigh about 34 kg when filled), and measuring 360 x 375 x 542 mm, it's compact yet powerful. Best of all, it comes with a 5-year warranty on the tank and a 2-year warranty on the heating element and product.
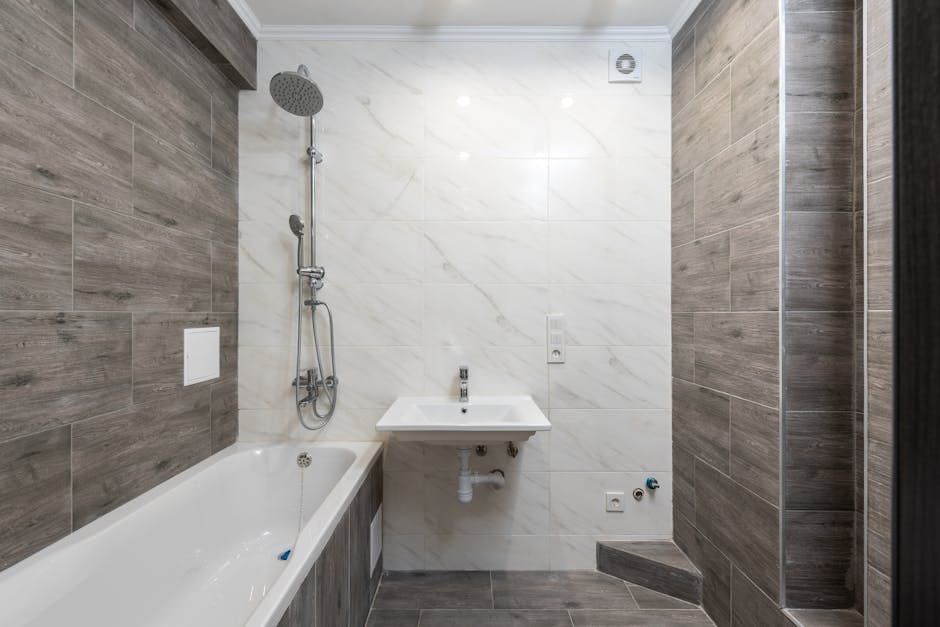
For the best performance, mount your geyser within arm's reach of where you'll use the hot water. This minimizes heat loss through lengthy pipe runs. The sweet spot for installation height is typically 5-6 feet from the floor – high enough to create good water pressure but still accessible for maintenance.
This model handles up to 6 bar pressure, making it suitable for most multi-story buildings. If you're dealing with Denver's notoriously hard water, you might need some additional protection for your new investment (more on that below).
Want all the technical details? You can Download Brochure directly from Crompton's website.
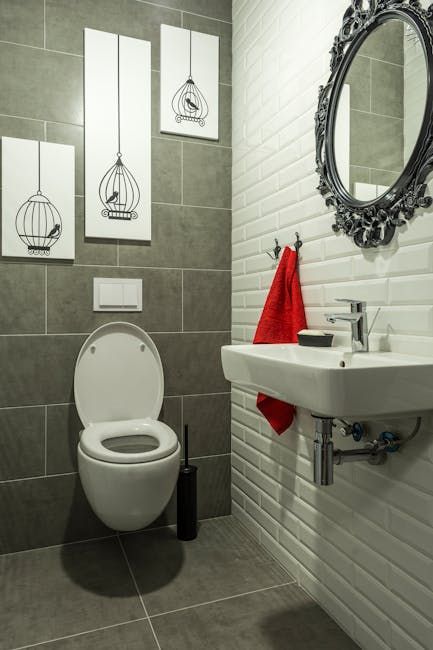
Choosing the Right Spot
Finding the perfect home for your geyser isn't just about aesthetics – it's about safety, efficiency, and convenience.
First and foremost, you need a load-bearing wall. When full, your geyser will weigh over 34 kg, so that decorative partition wall probably won't cut it. You'll want solid concrete or a wall with proper studs.
"I once saw a geyser rip clean off a bathroom wall because someone mounted it on drywall with basic anchors," says our installation specialist. "Trust me, that's not a flood you want to deal with at 2 AM."
Position your geyser close to an electrical outlet with proper earthing. If you don't have one nearby, you'll need a licensed electrician to install one – this isn't a place to cut corners.
Good drainage access below the installation point is crucial for maintenance. You'll thank yourself later when it's time to flush the tank or perform routine care.
Unlike gas heaters, your electric Crompton doesn't need venting, but it still appreciates some breathing room. Allow at least 6 inches of clearance on all sides for proper air circulation and easy access when you need to check connections or adjust settings.
Special Conditions for Hard Water & High-Rise
Dealing with Hard Water:
If you're in an area with hard water (and many parts of Denver certainly qualify), your geyser will face additional challenges. Those invisible minerals in your water can form scale inside your tank, reducing efficiency and potentially shortening its lifespan.
While the Crompton comes with a sacrificial magnesium anode to fight corrosion, you might want to consider a water softener upstream of your geyser. Think of it as preventative medicine for your water heater.
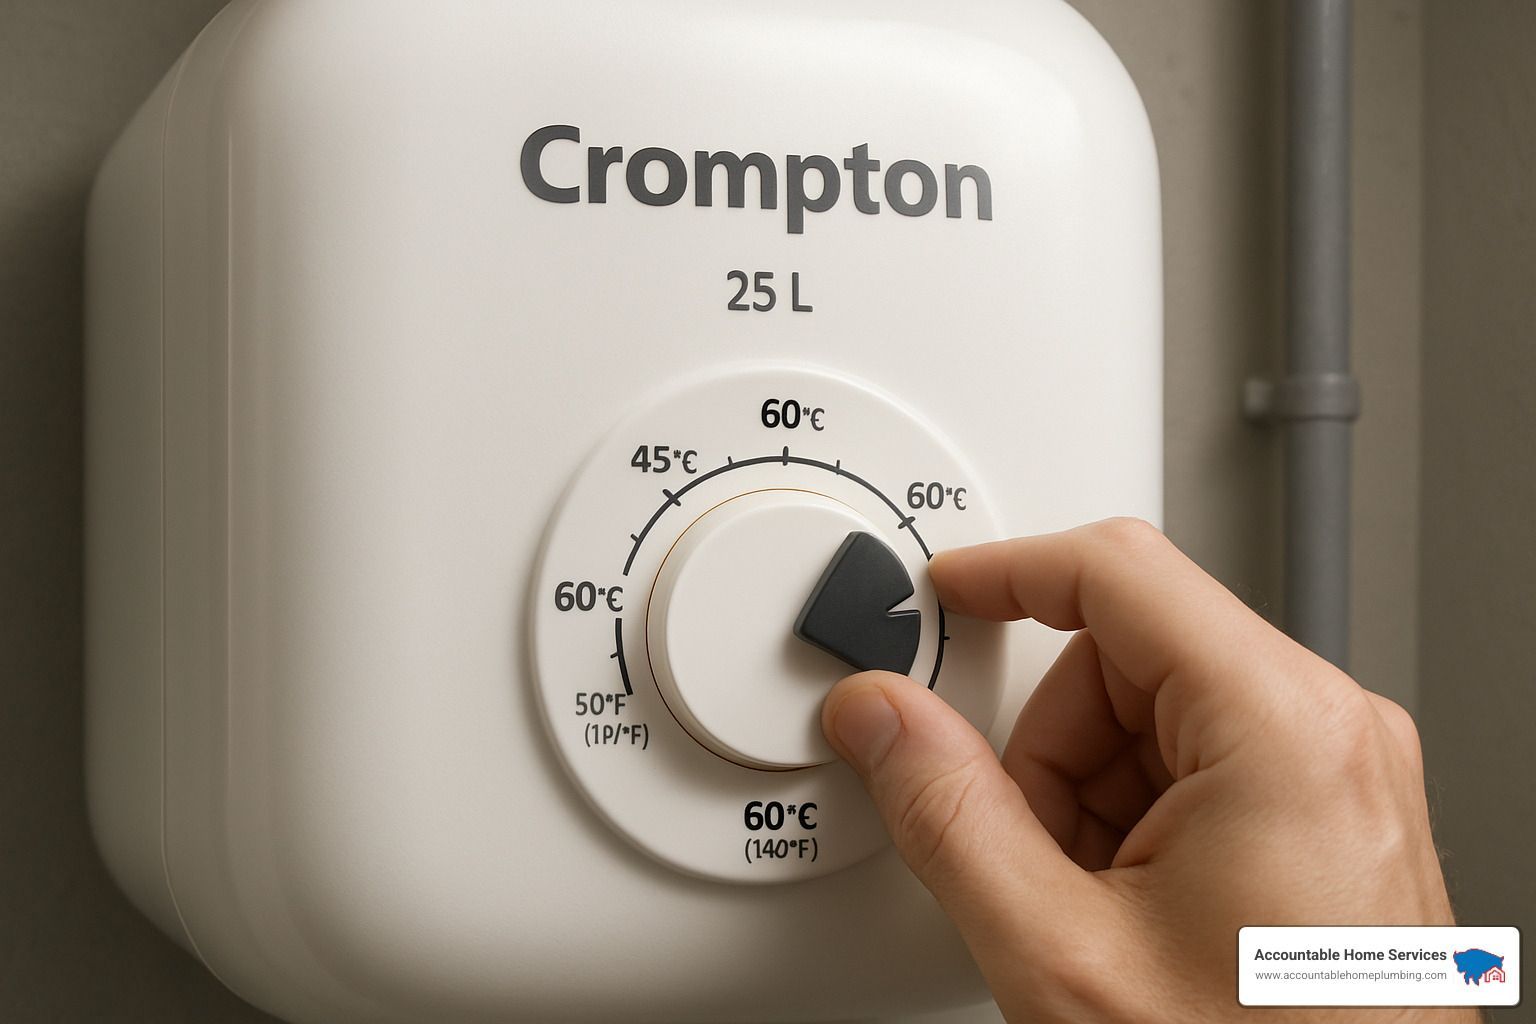
You'll also want to plan for more frequent descaling – every 6-12 months instead of the standard 12-24 months in soft water areas. Keeping your temperature setting below 60°C (140°F) when possible can help too, as higher temperatures accelerate scale formation.
High-Rise Considerations:
The laws of physics create some interesting challenges in tall buildings. Water pressure increases with height, which can affect your geyser's performance.
The standard Crompton 25 Ltr geyser handles up to 6 bar pressure, which works fine for most buildings. However, if you're living above the 20th floor, you might need to look at models rated for 8 bar or higher.
"In Denver's high-rise apartments, we almost always install a pressure-reducing valve before the water inlet," explains our high-rise specialist. "It's a small upfront cost that prevents expensive damage down the road."
For very high-pressure systems, an expansion tank might also be necessary. This gives the heated water somewhere to go when it expands, preventing excessive pressure in your system.
Proper preparation now means fewer headaches later – and that's something we can all appreciate when it comes to home plumbing!
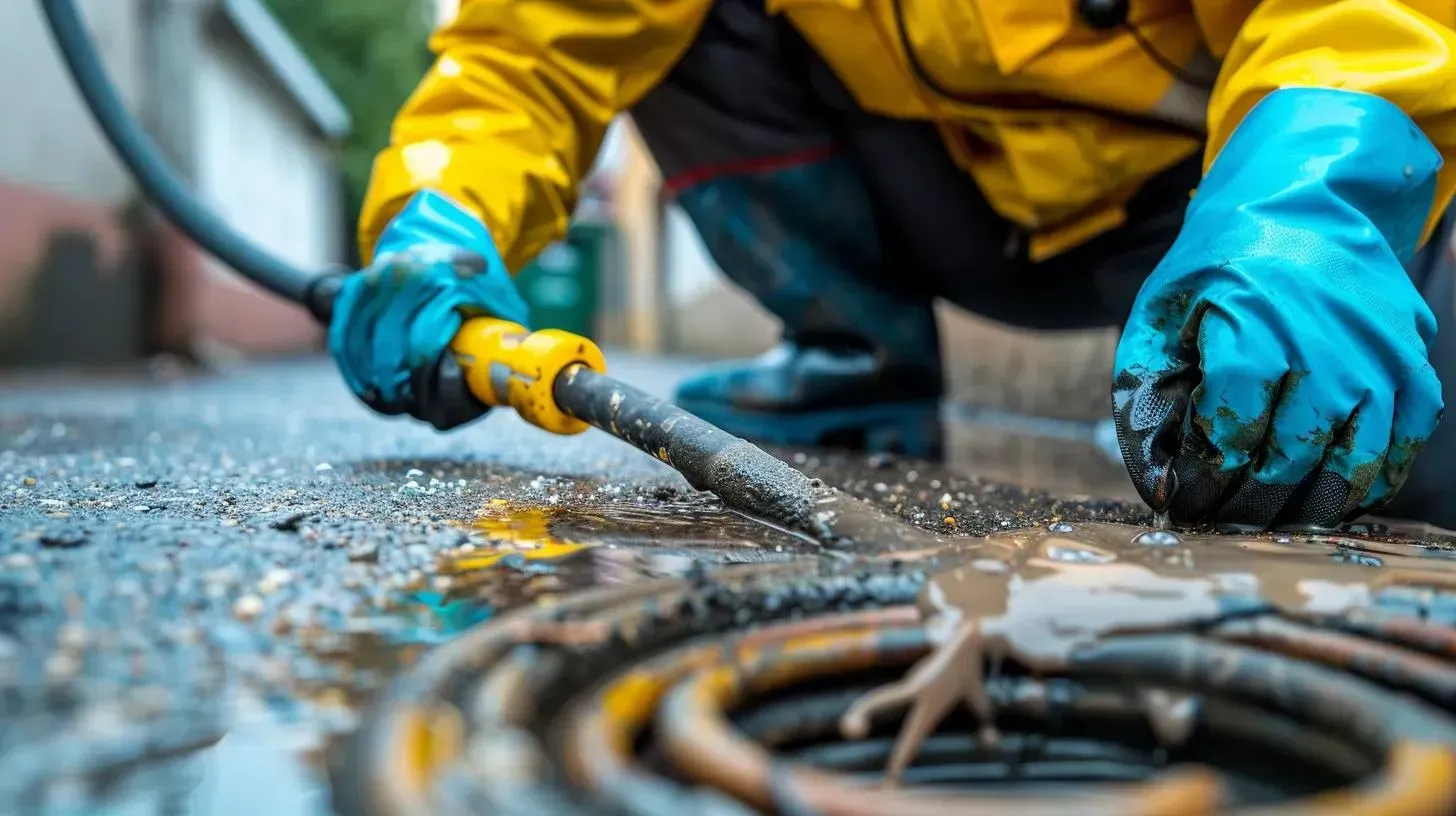
Tools, Materials & Safety Checklist
Getting ready for your Crompton geyser 25 ltr installation means gathering all the right tools and materials before you start. Think of it as preparing for a cooking recipe - you want everything within reach before you begin!
Let's walk through what you'll need for a smooth installation process:
For your toolbox, you'll want a drilling machine with hammer function and 14 mm masonry bits to create secure mounting points. Two adjustable wrenches will be your best friends for tightening connections, along with a pipe wrench for those stubborn fittings. Don't forget both Phillips and flathead screwdrivers, a measuring tape, and a spirit level to ensure your geyser hangs perfectly straight.
If you're installing on drywall, a stud finder is essential to locate secure mounting points. A multimeter will help verify electrical connections, while pliers and wire strippers handle the electrical work safely.
As for materials, you'll need PTFE tape (also called Teflon tape) to create watertight seals on threaded connections, ¾-inch GI nipples, and a multi-function pressure relief valve if one isn't included with your unit. For electrical safety, prepare a 16A MCB and 2.5 sq mm 3-core electrical cable if you need new wiring. Don't forget earthing components, wall anchors (though these usually come with the geyser), and dielectric unions to prevent corrosion where different metals meet.
"I always recommend having flexible inlet and outlet hoses on hand," says our senior technician. "They make the connections much easier than rigid pipes, especially in tight spaces."
For your safety gear, rubber-soled shoes are a must when working with electrical components. Add safety gloves and goggles to protect your hands and eyes, a stable ladder for reaching the installation height, a voltage tester, and keep a fire extinguisher nearby just in case.
Having everything ready before you start means no mid-installation trips to the hardware store. And if you run into unexpected problems, Accountable Home Plumbing provides emergency repairs to get you back on track.
Mandatory Safety Precautions
When it comes to water heater installation, safety isn't just a suggestion – it's absolutely non-negotiable. Water and electricity make for dangerous partners when handled incorrectly.
Power isolation is your first priority. Before touching any tools, turn off power at the main circuit breaker and verify with a voltage tester that electricity isn't flowing to your work area. I've seen too many close calls when people skip this simple step.
Next, shut off the main water supply and open faucets to drain existing water from the pipes. Working with dry pipes makes everything cleaner and safer.
Before hanging your geyser, thoroughly test those wall anchors. Apply significant downward pressure to ensure they'll hold the 34+ kg weight of a filled water heater. "A falling water heater can cause serious injury and property damage," warns our installation specialist. "Those few extra minutes testing the anchors are worth every second."
The buddy system isn't just for swimming – never install a water heater alone. Having someone to help lift the unit (even empty, it weighs about 9.5 kg) and provide an extra set of hands makes the job safer and easier.
Always wear proper safety gear – goggles protect your eyes from drilling debris, gloves shield your hands, and rubber-soled shoes provide electrical insulation.
For electrical safety, ensure you're using a properly grounded outlet and all connections are secure and well-insulated. Never work on live electrical circuits – that's a lesson some homeowners learn the hard way.
Finally, make sure the pressure relief valve is correctly installed and points toward safe drainage. "This valve is a critical safety feature," our technician explains. "If pressure builds up too high, it releases hot water – and you want that directed away from people."
"I've responded to emergency calls where homeowners received electrical shocks because they didn't properly isolate the power," shares our emergency technician. "Always triple-check that power is off before touching any electrical components."
Marking & Drilling for crompton geyser 25 ltr installation
Finding the right spot on your wall is like finding the perfect foundation for a house – it's that important. Start by locating studs or solid wall sections using a stud finder for drywall installations. For concrete or brick walls, aim for the solid part of the wall, not the mortar joints which can crumble under weight.
Next, hold the mounting bracket against the wall at about 5-6 feet from the floor. I always tell my clients that perfect leveling at this stage saves headaches later. Use your spirit level to ensure the bracket is perfectly horizontal, then mark your drilling points through the bracket holes.
When you're ready to drill, use a 14 mm masonry bit and drill to approximately 6 cm depth. Take your time here – rushing through drilling is how mistakes happen. For drywall with wooden studs, switch to an appropriate wood bit instead.
Once your holes are drilled, gently tap the expansion bolts or wall anchors into the holes until they're flush with the wall. A gentle touch works better than brute force here.
"The most crucial part of mounting is ensuring the bracket is perfectly level," my installation team always emphasizes. "Even a slight tilt can cause uneven water distribution and potential long-term issues."
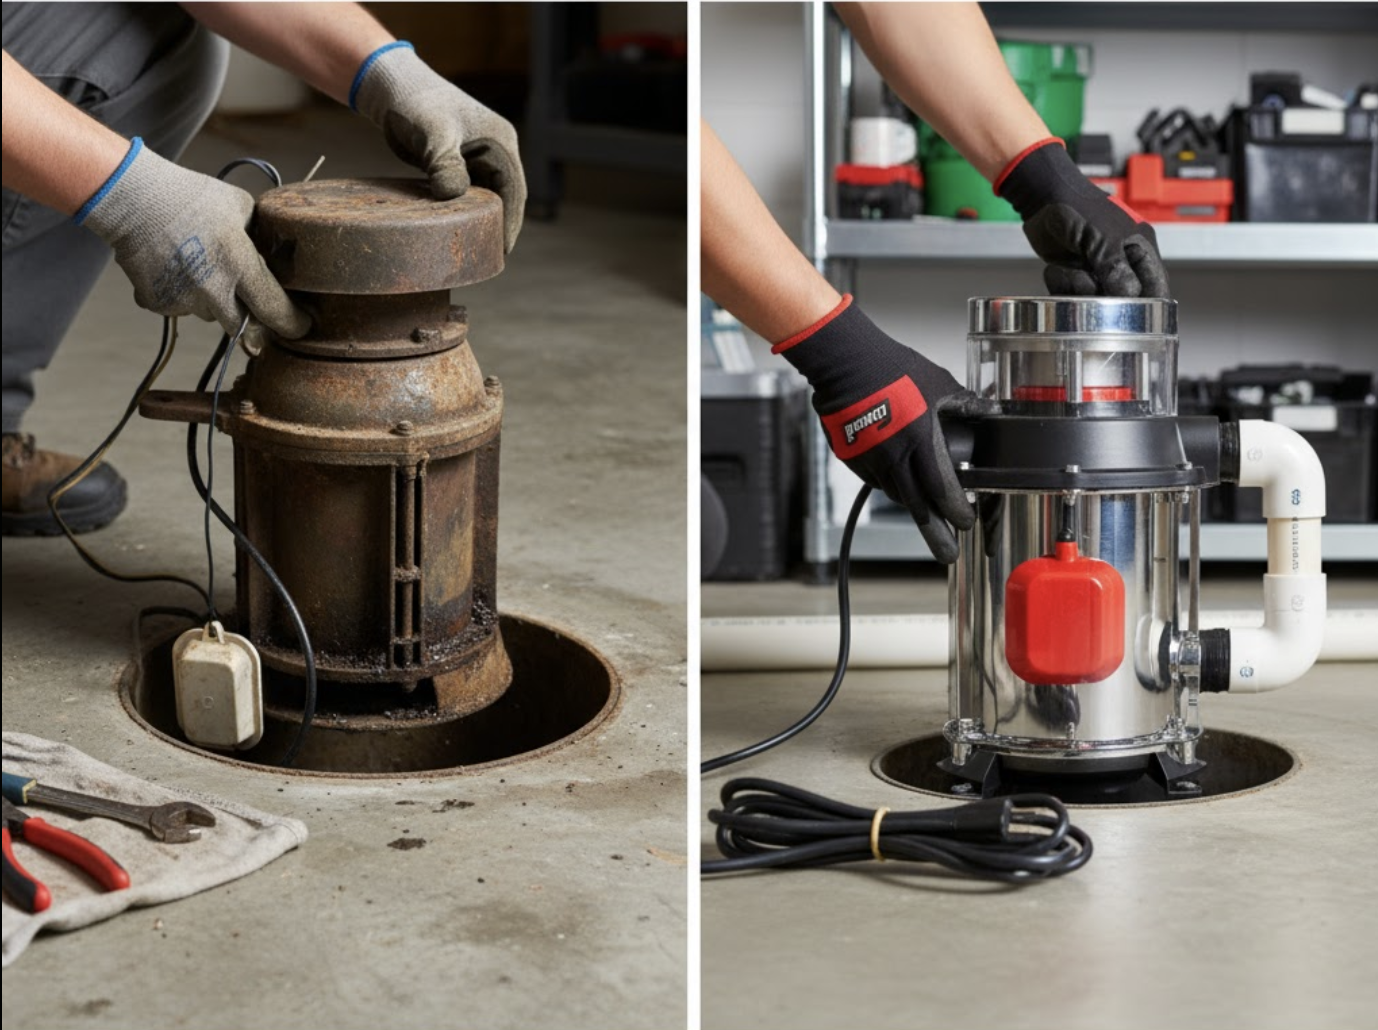
Mounting the Unit on the Wall
With your bracket holes drilled, it's time to secure the mounting bracket to the wall. Align it carefully with your installed anchors and secure it with the provided bolts. Tighten them firmly but don't go overboard – overtightening can damage your wall or the bracket itself.
Before trusting your precious geyser to that bracket, give it the "hang test." Apply downward pressure to ensure it can support the weight of a full water heater. Better to test it now than find a problem when your geyser is full of water!
Now comes the moment of truth – mounting the geyser itself. This is definitely a two-person job. Carefully lift the Crompton geyser and hang it on the mounting bracket, making sure it's properly seated and secure. Your back will thank you for lifting with your legs, not your spine.
Once mounted, place your spirit level on top of the geyser to confirm it's perfectly horizontal. A slightly tilted geyser might not seem like a big deal now, but it can affect performance over time.
"When mounting, always lift with your legs, not your back," I remind all our customers. "These units are manageable for two people but awkward for one person to handle safely."
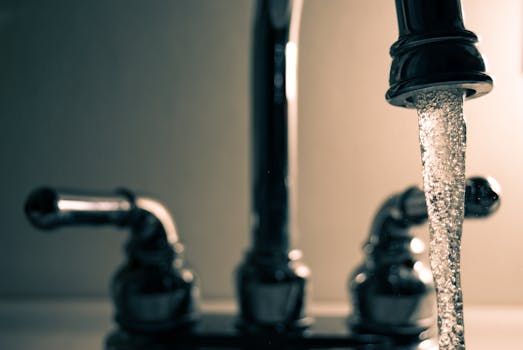
Water Inlet & Outlet Connections for crompton geyser 25 ltr installation
The plumbing connections are where precision pays off. On your Crompton 25 Ltr geyser, you'll notice the water connections are helpfully color-coded – blue for the inlet (where cold water enters) and red for the outlet (where hot water exits).
Before connecting any pipes, wrap PTFE (Teflon) tape clockwise around all pipe threads. Apply 3-4 layers, wrapping in the direction of the thread to prevent unwinding when tightening. This simple step prevents leaks that could cause water damage to your home.
The pressure relief valve is your geyser's safety mechanism – don't skip this step! If it's not pre-installed, attach it to the designated port on the geyser. This valve releases excess pressure if the tank overheats, potentially preventing dangerous situations.
When connecting your cold water supply to the blue inlet, make sure your pipes or flexible hoses are rated for the appropriate pressure. Similarly, connect your hot water pipe to the red outlet. I strongly recommend using dielectric unions at both connections to prevent galvanic corrosion between dissimilar metals – a small investment that extends the life of your installation.
Finally, ensure the pressure relief valve discharge pipe points downward toward a safe drainage point. This prevents anyone from getting scalded if the valve releases hot water.
"Always use dielectric unions when connecting copper pipes to the steel tank nipples," I recommend to all our clients. "This prevents galvanic corrosion that can cause leaks over time."
Safe Electrical Hook-Up
The electrical connection is where safety becomes absolutely critical. I've seen too many DIY installations go wrong here, creating serious hazards.
Before touching any wires, verify power is completely off at the circuit breaker. Double-check with a voltage tester – electricity isn't something to take chances with.
For the Crompton 25 Ltr geyser with its 2000W heating element, use 3-core 2.5 sq mm cable that can safely handle the current draw. This geyser should have its own dedicated 16A MCB (Miniature Circuit Breaker) in your distribution board for proper protection against electrical faults.
Proper earthing is non-negotiable. Connect the earth wire securely to the earth terminal on the geyser. This simple connection could save lives if there's ever a short circuit in your unit.
Where the electrical cable enters the geyser, use a rubber grommet to protect the cable insulation from being damaged by the metal edge. Small details like this prevent big problems down the road.
Make sure all electrical connections are tight and positioned away from potential water exposure. Loose connections can heat up and potentially cause fires, while water exposure to electrical components can cause shorts and shocks.
"In Denver's older homes, we often find inadequate earthing systems," I've noticed over years of service calls. "Always verify proper earthing with a multimeter before connecting your water heater."
Final Leak & Continuity Checks
Before the exciting moment of turning on your newly installed Crompton geyser, take time for these final safety checks.
Start by opening all hot water taps in your house. This allows air to escape from the system as the tank fills, preventing airlocks that could affect performance.
Now restore your water supply and allow the tank to fill completely. You'll know it's full when water flows steadily from your open hot water taps without sputtering.
With water flowing, inspect all connections for leaks. Pay special attention to the inlet, outlet, and pressure relief valve connections. Even tiny drips warrant attention – tighten any connections that show signs of leakage.
For the electrical system, use a multimeter to check for proper electrical continuity according to the manufacturer's specifications. If you have an insulation tester, check the resistance between live/neutral and earth to ensure there's no breakdown in insulation.
Once you're satisfied with your inspection and the tank is full, close all hot water taps. Your crompton geyser 25 ltr installation is almost ready for first use!
"Take your time with leak checks," I always advise my customers. "It's much easier to fix a small drip before turning on the power than to deal with water damage later."
First Startup, Maintenance & Troubleshooting
So you've completed your Crompton geyser 25 ltr installation – congratulations! Now comes the exciting moment of bringing your new water heater to life and learning how to keep it running smoothly for years to come.
First Startup Procedure
Before you flip that switch, let's make sure everything is ready. Always ensure the tank is completely filled with water before turning on the power. I can't stress this enough – running the heating element without water (what we call "dry firing") will damage it beyond repair, and that's definitely not covered under warranty!
To properly start your geyser for the first time, turn on a hot water tap somewhere in your home and wait until water flows steadily without any spurting or air bubbles. This tells you the tank is full and ready. Only then should you turn on the power at the circuit breaker.
Now, let's set that thermostat to the sweet spot – around 60°C (140°F). This temperature hits the perfect balance: hot enough for comfortable showers and washing dishes, but not so hot that it wastes energy or accelerates scale buildup.
Don't be alarmed if the first heating cycle takes longer than expected – about 30-45 minutes for a 25-liter tank is perfectly normal. Your geyser is just getting warmed up (pun intended!). After this initial cycle, test a hot water tap to make sure everything's working properly.
"The first time I installed a Crompton geyser, I panicked when it took almost an hour to heat up," laughs our technician Mike. "Now I know to tell homeowners to be patient that first time around."
Routine Maintenance Tips
Think of your water heater like a car – it needs regular check-ups to stay in top shape. Here's how to keep your Crompton geyser happy:
Monthly: Give your tank a quick flush by opening the drain valve for a few minutes. This removes sediment that settles at the bottom and can reduce efficiency over time. Just be careful – that water will be hot!
Quarterly: Test the pressure relief valve by lifting the lever and letting it snap back. You should hear a gurgling sound as water discharges. This valve is your safety guardian against dangerous pressure buildup, so make sure it's working properly.
Semi-annually: If your water contains debris (common in older buildings), check and clean the inlet filter. This small maintenance task can prevent reduced water flow issues down the road.
Annually: Inspect that sacrificial magnesium anode rod – it's literally sacrificing itself to protect your tank from corrosion. If it's more than half gone, it's time for a replacement. This is also the perfect time to descale your tank, especially if you live in a hard water area like many parts of Denver.
"One homeowner extended her Crompton geyser's life to over 10 years by performing regular maintenance," shares our service manager. "The manufacturer's 5-year warranty is just the beginning if you take care of your unit properly."
Need help with maintenance? Our team at Accountable Home Plumbing specializes in Water Heater Repair & Installation and can handle all these maintenance tasks professionally.
Common Installation Mistakes to Avoid
Even the most careful DIYers sometimes make mistakes during Crompton geyser 25 ltr installation. Here are the big ones to avoid:
Neglecting proper earthing is like skydiving without a reserve parachute – technically you might be fine, but why take the risk? Proper earthing protects you from electrical shocks and is absolutely non-negotiable.
Over-tightening connections is another common error. Pipes aren't like jar lids – "as tight as possible" isn't the goal. Use the right tools and appropriate force to prevent cracked fittings or stripped threads.
Never bypass the pressure relief valve. This small component prevents your geyser from turning into a potential bomb if pressure builds up. Always ensure it's properly installed and directed toward a safe drainage point.
Unsupported piping puts stress on your geyser's connections. The weight of water-filled pipes should be supported by proper brackets, not by the geyser itself.
Using undersized wiring is like trying to drink a milkshake through a coffee stirrer – it just can't handle the flow! Always use 2.5 sq mm or larger cable for a 2000W geyser to prevent overheating and fire hazards.
"We once responded to an emergency where a geyser had fallen off the wall because it was mounted on plain drywall without stud support," recalls our emergency technician. "The damage and flooding cost thousands to repair – all because someone skipped using the right anchors."
With proper installation and regular maintenance, your Crompton geyser will provide reliable hot water for many years. And remember, if you ever feel uncomfortable performing any maintenance yourself, Accountable Home Plumbing is just a phone call away!
Frequently Asked Questions about crompton geyser 25 ltr installation
How long does professional installation take?
When it comes to professional crompton geyser 25 ltr installation, you're looking at about 2-3 hours from start to finish. Our technicians work efficiently to mount your unit, connect water lines, complete electrical hookups, and run thorough testing to ensure everything's working perfectly.
"Most installations we do are completed within a morning or afternoon appointment," explains our lead installer. "But if we find your home needs electrical upgrades or plumbing modifications, it might take a bit longer."
For the brave DIY souls out there, set aside 4-6 hours if you've got some plumbing and electrical experience under your belt. First-timers should plan for a full day – it's always better to take your time and do it right than rush and create problems!
Can I install the geyser on a gypsum wall?
Yes, you can install your Crompton 25 Ltr geyser on a gypsum (drywall) wall, but you'll need to take extra precautions. A water-filled geyser weighs over 34 kg – that's not something you want crashing down in the middle of the night!
The golden rule is to mount the bracket directly to wall studs, never just to the drywall itself. Use a stud finder to locate these solid supports behind your wall. If studs aren't available exactly where you need them, heavy-duty toggle bolts or molly bolts can work in a pinch, but this isn't our first recommendation.
For the most secure installation, consider mounting a 3/4" plywood board that spans across multiple studs first, then attach your geyser to this solid backing. This distributes the weight more evenly and gives you flexibility with the exact placement.
"I once visited a home where a geyser had torn right through the drywall," shares our repair specialist. "Trust me, you don't want that headache – or the water damage that comes with it!"
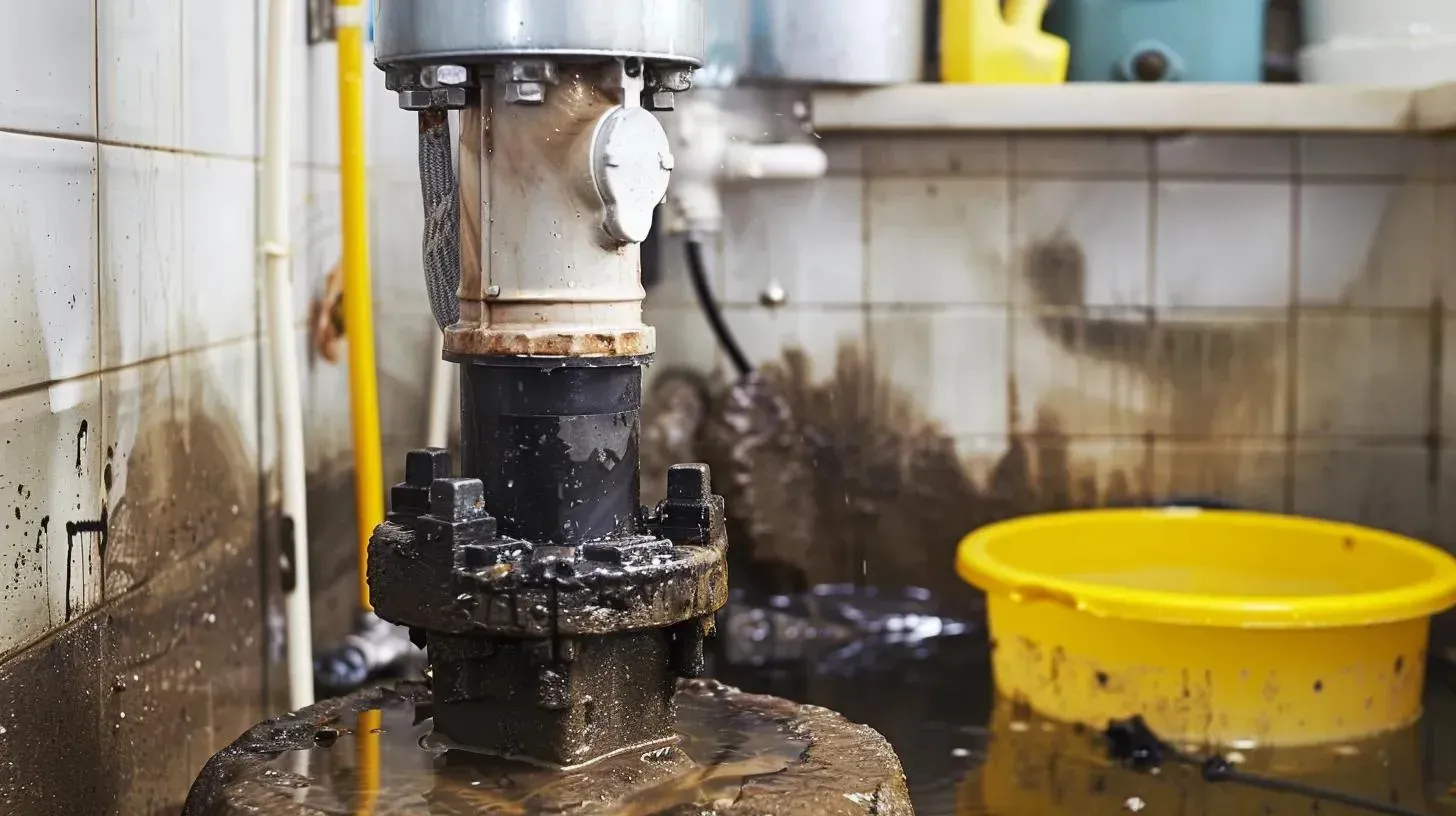
What should I do if the water isn't heating?
Just finished your crompton geyser 25 ltr installation but the water's still cold? Don't panic! This is a common issue with several possible solutions.
First, check the basics: is the circuit breaker turned on? Sometimes the simplest explanation is the right one. Next, locate the thermal cut-out button on your geyser – this safety feature sometimes trips during installation and just needs a reset.
Take a look at your thermostat settings too. A setting that's too low (below 50°C) might feel cold, especially if you're expecting very hot water. On the flip side, make absolutely sure your tank is completely full of water before expecting heat. Air pockets can prevent proper heating and potentially damage the element.
If you're comfortable using a multimeter, you can check the heating element for continuity. No continuity means a faulty element that needs replacement.
"About 30% of our 'no heat' service calls are resolved with simple fixes like resetting the thermal cut-out or filling the tank completely," notes our service manager. "But remember, opening up the unit yourself might void your warranty, so when in doubt, give us a call."
How do I know if my water pressure is suitable for this geyser?
The Crompton 25 Ltr model is designed to handle up to 6 bar of pressure, which works perfectly for most homes. But how do you know if your pressure is within this range?
The most reliable way is to use a pressure gauge attached to an outdoor faucet or washing machine connection. These inexpensive tools give you an exact reading of your home's water pressure.
Living in a high-rise? If you're above the 6th floor in a building without pressure-reducing systems, your water pressure might exceed the geyser's rating. Pay attention to warning signs like banging pipes when you shut off faucets, constantly leaking faucets, or toilets that run randomly – these all suggest your pressure might be too high.
"In Denver's newer high-rises, we almost always install pressure-reducing valves as a precaution," explains our high-rise specialist. "It's a small investment that protects your geyser and other plumbing fixtures throughout your home."
If your pressure exceeds 6 bar, installing a pressure-reducing valve before the geyser's inlet is essential – not just for optimal performance but also to maintain your warranty coverage.
Should I drain my geyser when not in use for extended periods?
Planning a winter getaway or leaving your home vacant for a while? Here's what you should do with your geyser:
For shorter absences (under 2 weeks), simply turning off the power at the circuit breaker is usually sufficient. This saves energy while keeping your geyser ready for your return.
For longer trips (2-4 weeks), power-off is still your best bet. The water will gradually cool, but your tank will be protected and ready to heat up when you return.
If you'll be gone for more than a month, especially during winter in Denver's colder climate, we recommend completely draining the tank. This prevents both freezing damage and mineral buildup that can occur in stagnant water.
Draining your tank is straightforward: turn off the power, shut off the cold water inlet, connect a hose to the drain valve, open the drain valve and a hot water tap (to allow air in), then let gravity do the work.
"We service many vacation homes in the mountains outside Denver," shares our seasonal maintenance specialist. "The homeowners who take the time to properly drain their water heaters before the winter season avoid those heartbreaking calls about burst tanks and water damage."
For any questions about your crompton geyser 25 ltr installation or maintenance needs, Accountable Home Plumbing is just a phone call away. We're always happy to help ensure your water heater provides years of reliable service.
Conclusion
Completing a successful Crompton geyser 25 ltr installation isn't just about following steps—it's about creating a safe, efficient hot water system that will serve your family for years to come. Throughout this guide, we've walked through every critical aspect of installation, from choosing the right location to making those final connections.
While DIY installation is certainly possible with the right tools and knowledge, there's no shame in recognizing when a job might be better handled by professionals. Water heaters involve both plumbing and electrical systems—two areas where mistakes can lead to serious consequences.
"I've seen homeowners tackle installations with great success, but I've also seen DIY projects that ended up costing much more than professional installation would have," shares our lead technician. "The key is honestly assessing your comfort level with both plumbing and electrical work."
At Accountable Home Plumbing, we've installed countless water heaters throughout the Denver Metro area, including Broomfield, Westminster, Thornton, Northglenn, Arvada, Boulder, Denver, and Longmont. Our team specializes in Crompton geyser installations, ensuring every connection is secure and every safety feature is properly implemented.
What sets us apart? Our commitment to upfront pricing with no surprises. Before we begin any work, you'll know exactly what to expect—both in terms of the installation process and the final cost.
Whether you've installed your geyser yourself or had it professionally installed, the journey doesn't end there. Regular maintenance is what transforms a good installation into a great long-term investment. Those monthly flushes, annual inspections, and timely descaling procedures we discussed aren't just suggestions—they're the secret to maximizing your geyser's lifespan.
"The homeowners who get the most from their water heaters are the ones who treat maintenance like an appointment, not an afterthought," notes our service manager with a smile. "It's like dental checkups—a little prevention saves a lot of pain!"
Your Crompton 25 Ltr geyser represents an investment in your home's comfort and functionality. The care you take during installation—ensuring proper mounting, correct water connections, and safe electrical setup—pays dividends through years of trouble-free operation.
Need help with installation, maintenance, or unexpected repairs? Contact us anytime. Our 24/7 service ensures we're always available when hot water issues can't wait—because in our Colorado winters, they rarely can!
We're proud to be your neighbors and your plumbing professionals. Here's to hot showers, clean dishes, and the simple comfort that comes from knowing your water heater was installed right.