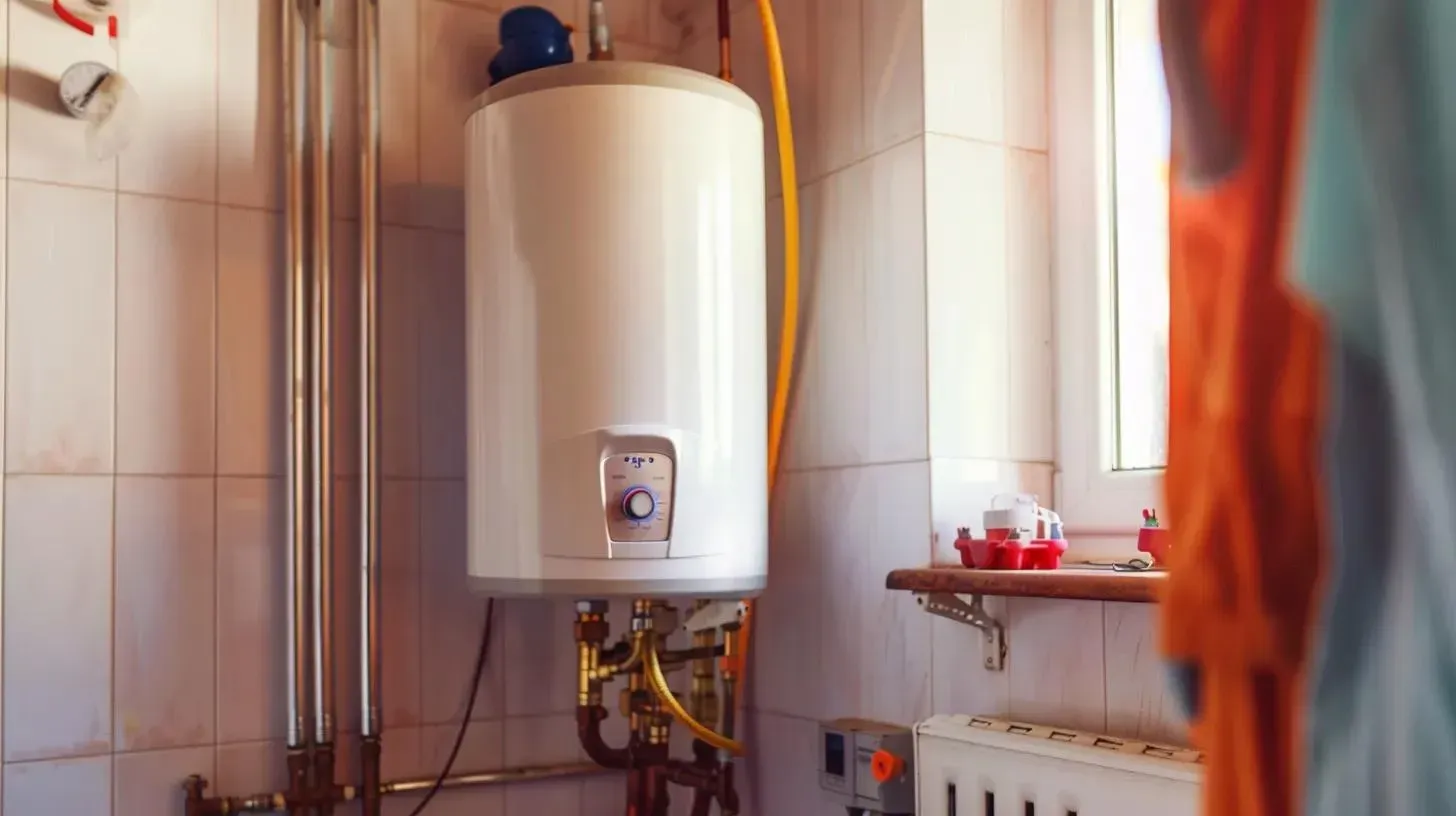
Eccotemp Installation 101 – Get Your Water Heater Up and Running
Why Proper Eccotemp Installation Matters

Eccotemp water heater installation can seem straightforward, but getting it right the first time saves you from costly repairs and safety hazards. These compact units deliver hot water in as little as 10 seconds – but only when properly installed with correct gas pressures, venting, and clearances.
Quick Installation Overview:
- Choose location – Indoor/outdoor with proper clearances (10 in. sides, 12 in. from combustibles)
- Mount securely – Level installation on a structural wall with lag bolts
- Connect utilities – Water lines, gas line, electrical (GFCI)
- Install venting – Stainless steel with proper slope for indoor models
- Test thoroughly – Gas pressure, leak test, activation flow
- Set temperature – Factory default 118°F, recommended 110–120°F for safety
The biggest installation mistakes involve undersized gas lines and improper venting – both can trigger error codes and void your warranty. Water temperatures above 125°F can cause severe burns in less than 2 minutes.
I'm Mike Martinez AHP, owner of Accountable Home Plumbing, and I've guided dozens of Denver homeowners through eccotemp water heater installation over the past decade. This guide will walk you through every step to ensure your new tankless system runs safely and efficiently.
Understanding Eccotemp Water Heater Types
Choosing the right Eccotemp model becomes clearer once you understand the three main categories and their differences.
Tankless gas units are the workhorses of the Eccotemp family. These wall-mounted units heat water on-demand, delivering endless hot water within their flow rate limits. The popular SH12-A model delivers 4.0 GPM at 80,000 BTU, handling most whole-home needs.
These units need at least 0.7 GPM flowing through them to fire up, and 0.6 GPM to keep running. A barely-open faucet won't trigger your hot water - this prevents constant cycling on and off.
Mini-tank electric units store 2.5 gallons of hot water and keep it ready. They're perfect for remote bathroom sinks or under kitchen sinks where you want instant hot water. They plug into standard 120V outlets and recover hot water in just 20 minutes.
Portable outdoor models bring hot water anywhere. The L5 model delivers 1.5 GPM running off a standard propane tank - perfect for washing pets or rinsing camping gear.
The big decision for permanent installations: indoor versus outdoor models. Indoor units need proper venting with Category III stainless steel components, plus specific clearances. Outdoor models eliminate venting headaches but need freeze protection in Colorado.
| Feature | Tankless Gas | Mini-Tank Electric | Portable |
|---|---|---|---|
| Flow Rate | 1.5-6.8 GPM | N/A (storage) | 1.5-3.0 GPM |
| BTU Rating | 18,000-280,000 | N/A | 35,000-75,000 |
| Activation Flow | 0.6-0.7 GPM | N/A | 0.5 GPM |
| Installation | Permanent | Under-sink/wall | Portable |
| Venting Required | Indoor: Yes | No | No |
BTU ratings show how much gas the unit burns, directly relating to hot water production. GPM ratings show maximum flow rate under ideal conditions - this drops as incoming water gets colder.
Most Eccotemp units are tested for use up to 2,000 feet above sea level. Higher altitudes require gas pressure adjustments for proper operation.
Picking the Right Model for Your Household
Start by calculating your peak demand- maximum simultaneous hot water use. A typical shower uses 2.5 GPM, kitchen sink 1.5 GPM, washing machine 2.0 GPM. If someone's showering while the dishwasher runs, you need at least 4.0 GPM capacity.
Elevation considerations are crucial for mountain homes. Above 2,000 feet, gas appliances often need pressure adjustments or high-altitude conversion kits.
Climate matters for model selection. Outdoor units offer simpler installation but need freeze protection. Indoor units avoid weather concerns but require proper venting.
For most Denver metro homes, I recommend indoor tankless units for whole-home applications and mini-tank electrics for remote locations.
Pre-Installation Safety & Planning
Working with gas appliances demands respect and preparation. Proper planning separates successful projects from emergency calls.
Gas leak response should be automatic: smell gas, don't touch electrical switches, get everyone out immediately, call your gas company from a safe location. Never use matches or lighters to check for leaks.
Combustible clearances are life-safety requirements: 10 inches on sides, 12 inches from vent pipe to combustibles, 16 inches overhead clearance. The 6GB Builder Series needs 1.75-inch side clearances but maintains the 13-inch overhead requirement.
Permits and code compliance catch mistakes before they become hazards. Most municipalities require permits for gas appliance installations. Work must meet ANSI Z223.1/NFPA 54 standards plus local codes.
Gather essential tools: adjustable wrenches, pipe cutting tools, drill with bits, 24-inch level, manometer for gas pressure testing, voltage testers, Teflon tape, pipe sealant, and gas leak detector spray.
The installation manual for your specific model is essential - read it twice before starting.
Choosing a Safe Location
Location affects structural integrity and safety. You need a solid wall that handles the unit's weight plus water-filled lines. Stud walls are essential - drywall anchors won't support tankless units.

Vent path planning is critical for indoor installations. The SH12-A allows 32 feet maximum vent length with one 90-degree elbow- each additional elbow costs 5 feet of allowable length.
Drain pans prevent water damage. Install them under all indoor units with drain lines to floor drains or outdoors.
Freeze protection is essential in Colorado. Outdoor installations need drain-down capabilities or heated enclosures. Indoor units require maintained electrical power for anti-freeze protection.
High-altitude installations above 2,000 feet need special attention. Gas pressure regulators may need adjustment, and maximum BTU input drops significantly.
Utilities Prep & Materials
Water pressure should be 14-80 PSI. Higher pressures require pressure-reducing valves. Install isolation valves on both supply lines for future maintenance.
Gas line sizing follows strict BTU requirements. The i12 model needs 1/2-inch minimum piping, while larger units require 3/4-inch to 1-inch lines.
Electrical requirements are typically 120V GFCI-protected outlets within 6 feet. Smart models require reliable Wi-Fi connectivity.
Stainless steel vent kits are mandatory for indoor installations - only Category III UL-listed materials.
For detailed utility connection guidance, check our Tankless Water Heater Hookup guide.
Step-by-Step Eccotemp Water Heater Installation
Now for the installation process! Following the correct sequence prevents costly mistakes and ensures safety.
Start with complete utility shutdown – turn off gas at the meter, shut off water at the main valve, and flip the electrical breaker. Verify gas is off with a detector and open faucets to drain water line pressure.
Installation sequence: mount unit, connect water lines with isolation valves, install and test gas supply, complete venting system, make electrical connections, perform leak testing, and finish with startup and temperature calibration.
Mounting for Eccotemp Water Heater Installation
Proper mounting prevents vibration, noise, and safety hazards. Poor mounting can cause units to fall off walls.
Find wall studs with an electronic stud finder. Mark mounting holes using the included template – this ensures proper spacing and alignment you can't eyeball accurately.

Use proper lag bolts – minimum 1/4 inch diameter, biting into solid wood at least 2 inches. The mounting bracket must be level. Even slight angles can cause operational problems or void warranty.
Maintain clearances: 10 inches on sides for service access, 12 inches from vent termination to combustibles, 16 inches overhead for air circulation.
Water & Gas Connections
Every connection must be perfect – water and gas leaks worsen over time.
Install isolation valves on both supply lines within 5 feet of the unit. These allow maintenance without shutting off water to your entire house.
Teflon tape application: Wrap 3–4 times in the direction threads will turn. Use gas-rated yellow tape on gas connections.

Gas line installation requires careful attention. Install the sediment trap exactly as shown – it catches debris that could damage the gas valve.
Test gas pressure with a manometer – you need 10–13 inches water column for propane or 4–8 inches for natural gas. Wrong pressure causes error codes and safety issues.
Leak test every connection with soapy water or commercial detector. Any bubbles mean retightening or re-taping that joint. Never use open flames to test for gas leaks.
For detailed gas line sizing guidance, check the latest research on gas line sizing.
Venting for Eccotemp Water Heater Installation
Indoor eccotemp water heater installation requires Category III stainless steel venting – don't save money with cheaper materials that will corrode.
Slope vent pipe at least 1/4 inch per foot away from the unit. This prevents condensate from pooling and corroding your venting system.
Mind maximum length restrictions. The SH12-A allows 32 feet of venting with one elbow, but each additional 90-degree elbow costs 5 feet of total length.
Install backflow preventer to stop downdrafts. These must slope downward to drain properly.
Route condensate drainage to floor drains or outside – never let condensation drip onto floors.
Electrical & Startup
GFCI protection is mandatory for all electrical connections. Most Eccotemp units plug into standard 120 V outlets.
Smart app pairing enables remote control and monitoring. Press and hold Smart Button for 5 seconds for EZ mode setup, or 10 seconds for AP mode.

Set temperature thoughtfully – factory default 118°F is below the dangerous 125°F scald threshold. I recommend 110–120°F for households with children or elderly residents.
Enable ECO mode if available. This feature modulates gas input based on demand, potentially saving 10–15 % on operating costs.
Post-Install Testing, Settings & Maintenance
Thorough testing ensures your eccotemp water heater installation operates safely and efficiently.
Soap bubble leak testing is first priority. Mix dish soap with water and apply to every gas fitting while pressurized. Tiny bubbles can become dangerous gas leaks over time.
Flow activation testing verifies startup. The SH12-A should fire at 0.7 GPM and run at 0.6 GPM. Higher activation flows indicate supply pressure issues or clogged inlet filters.
Temperature calibration ensures accuracy. Use digital thermometers to verify display matches actual water temperature – units can be off by 10–15 degrees from factory.
Water at 140°F causes severe burns in under 5 seconds. At 120°F, you have over 5 minutes before injury. We recommend maximum settings of 110–120°F for safety.
Regular maintenance extends equipment life. In Colorado's hard water areas, flush your system every 6 months using an EZ-Flush descaling kit. This prevents mineral buildup causing error codes.
Filter cleaning takes five minutes monthly but prevents costly service calls. Inlet screens catch debris that would jam internal components.
Winterization matters in Colorado climate. Outdoor units need drain-down procedures or heated enclosures. Indoor units require maintained electrical power for anti-freeze protection.
Warranty registration within 30 days activates coverage and technical support.
Long-Term Care Tips
Exercise isolation valves quarterly by turning fully closed, then reopening. Unused valves often seize when needed most.
Test pressure relief valve annually by lifting the lever briefly – this safety device prevents dangerous pressure buildup.
Water softener considerations: Maintain water hardness around 3–5 grains for optimal performance. Over-softened water creates different corrosion issues.
Consistency is key. Set phone reminders for monthly filter checks and semi-annual flushing. Your Eccotemp can provide decades of reliable service with proper care.
For comprehensive maintenance guidance, check our Routine Water Heater Maintenance resource.
Troubleshooting & When to Call a Pro
Even perfectly executed eccotemp water heater installation can develop issues. Understanding common problems helps you decide when to troubleshoot versus call for help.
E1 Error Codes indicate insufficient gas supply. Check gas pressure with a manometer - propane needs 10-13" WC, natural gas requires 4-8" WC. Lower readings often mean undersized gas lines or too many elbows creating pressure drops.
E3 Overheat Errors stem from restricted water flow or venting problems. Start by cleaning inlet filters and descaling the heat exchanger. Improper venting can cause heat feedback into the unit.
E4 Sensor Faults usually result from Colorado's hard water leaving mineral deposits on temperature sensors. Descaling often clears this, but persistent codes may require sensor replacement.

Vent Blockage symptoms include error codes, unusual noises, or combustion gas odors. I've removed bird nests and ice dams from vent terminations. Never operate units with blocked venting.
Common installation mistakes include undersized gas lines, incorrect vent materials, missing isolation valves, improper clearances, and skipped leak testing.
Call professionals for gas pressure issues, complex venting requirements, electrical problems, or persistent error codes after basic troubleshooting.
Immediate professional attention needed for gas odors during operation, water leaks from gas connections, unusual combustion noises, or recurring error codes.
We're available 24/7 with upfront pricing and no surprises - just honest diagnosis and transparent solutions.
Frequently Asked Questions about Eccotemp Water Heater Installation
What tools and fittings do I need?
Essential tools include adjustable wrenches in multiple sizes, pipe cutter for clean connections, and a quality 24-inch level to prevent vibration issues.
Specialized equipment includes a manometer for gas pressure testing ($150 but essential for safety), voltage tester for electrical safety, and commercial gas leak detector spray.
Fittings typically include isolation valves for both water lines, gas-rated yellow Teflon tape, and sediment trap for gas connection. Buy extra fittings to avoid mid-project hardware store runs.
How do I size the gas line correctly?
Undersized gas lines cause 80% of installation problems I see. It's not just pipe diameter - distance from gas meter matters equally.
i12 4.0 GPM model needs 1/2" minimum piping for runs under 20 feet, but longer distances require 3/4" lines. High-BTU units demand 3/4" to 1" lines regardless of distance.
Flexible gas connectors must handle your unit's full BTU capacity. Standard stove connectors won't work on high-BTU tankless heaters.
Always verify with manometer after installation. Propane should read 10-13" WC, natural gas 4-8" WC at the unit.
Can I install an indoor model outdoors with a cover?
Absolutely not- indoor and outdoor models have completely different components. Indoor units lack weatherproof electrical connections, corrosion-resistant materials, and freeze protection systems.
Certification differences matter for safety and warranty. Indoor units are UL-listed for protected environments with specific venting requirements. Using them outdoors voids your warranty and creates liability issues.
Outdoor models eliminate venting headaches and are engineered for weather exposure. The upfront cost difference disappears when moisture damage requires expensive repairs.
Conclusion
You now understand what goes into safe, successful eccotemp water heater installation. Whether tackling this as DIY or calling professionals, you have the knowledge to make informed decisions.
Safety always comes first. Gas connections, proper venting, and electrical work require precision - "close enough" isn't acceptable. One undersized gas line or improperly sloped vent can turn your upgrade into frustrating error codes.
The key success factors- proper gas line sizing, thorough leak testing, correct venting - aren't suggestions. They're the difference between years of reliable hot water and costly callbacks.
At Accountable Home Services, we provide transparent, upfront pricing for eccotemp water heater installation throughout Denver Metro. No surprises, no hidden fees - just honest work keeping your family safe and comfortable.
Our experienced technicians handle everything from emergency repairs to complete installations and routine maintenance. We're available 24/7 because hot water problems don't wait for business hours.
Whether you tackle this project yourself or choose professional installation, you now have the knowledge for reliable hot water and safety that comes with proper installation.
For professional installation services with no hidden surprises, visit our Water Heater Installation page. We're here when you need us.

